Carrington Institute Training
Combining a large number of offices, laboratories and hangars, the Carrington Institute's headquarters is well built and hidden from the outside world. All operations are planned and launched from here, with Daniel Carrington personally overseeing each mission from a link in his office. CI also has three training areas designed to give an agent experience in combat as well as the use of weapons and devices.
This experience can give you a much greater advantage out in the field, as you will already be familiar with your equipment. Once you beat all 32 weapons on gold as well as completing all 7 holo training and 10 devices you'll gain access to the special mission The Duel. Featured here are three guides to help you go through the training activities successfully.
Firing Range | Holo VR Training | Device Training
Holo VR Training
The HR Training allows you to practice moving around, activating switches and fighting in hand-to-hand combat. There are 7 different training stages available, and each one becomes harder to complete than the previous. This section will help you to beat all 7 stages.
| Holo 1 - Looking Around |
| Just search around the room for the four switches and look toward them to activate them. Two should be on the roof and the other two on the walls. |
 |
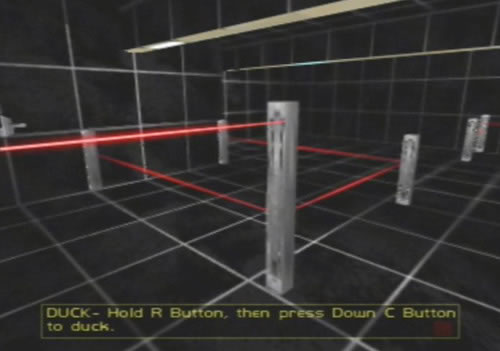
| Holo 2 - Movement 1 |
 |
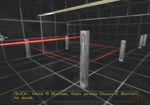
You'll need to activate two switches that are surrounded by laser beams. First, crouch down and crawl under the beams on your left to reach the first switch. For the second one, you'll need to crouch right down to make it under the beams. |
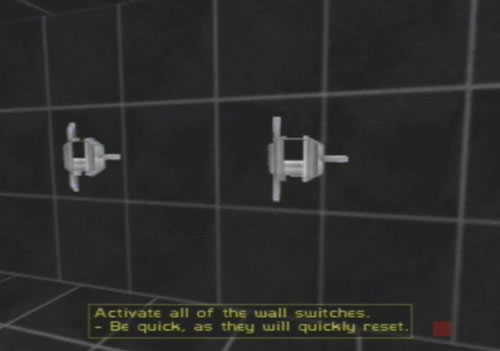
| Holo 3 - Movement 2 |
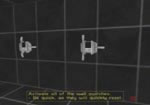
| You have to activate four switches on the far wall quickly before they reset themselves. First, go up to the switch on the far left, activate it, then quickly strafe right and activate each switch as you pass them. |
 |
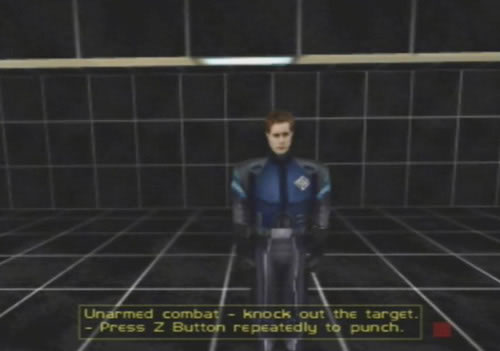
| Holo 4 - Unarmed Combat 1 |
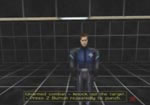 |
First, knock out the guard standing in front of you. Another guard will appear and he'll run around randomly. Knock him out at your leisure. The last guard will charge at you and try to hit you. Punch him out before he gets a chance. |
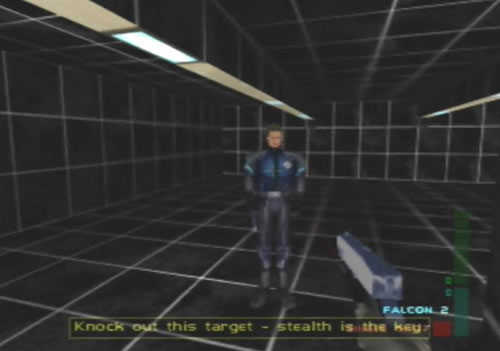
| Holo 5 - Unarmed Combat 2 |
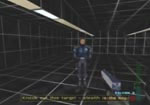
This one is a little tricky. First, switch to Disarm and knock out the first guard standing in front of you. Next, go behind the wall so that the moving guard can't see you, wait a few seconds, then rush out and knock him out from behind.
For the last one, hide behind the wall because he'll be firing at you. If you have any ammo from the Falcon 2's that you picked up from the other two guards, use it, otherwise you'll just have to dash out and rip into him while circling around him to dodge his fire. |
 |
| Holo 6 - Live Combat 1 |
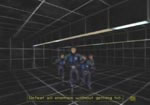 |
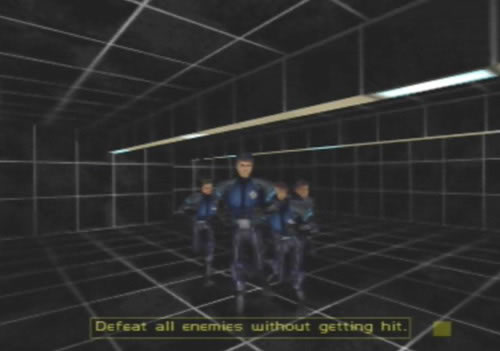
Four unarmed guards in each corner of the room will come charging at you. Just knock out each one without getting hit to beat this stage. |
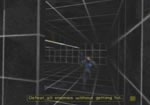
| Holo 7 - Live Combat 2 |
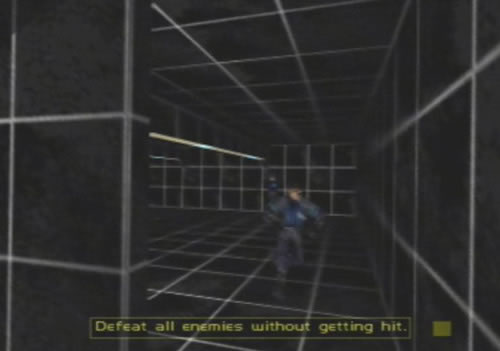
This is a tough one and will take a few tries. First, strafe left to hide behind the wall before the guards can fire. Wait for the two unarmed guards to come at you, then knock 'em out. Go up to the edge of the wall closest to the armed guards, then fly out and quickly disarm the closest guard.
Rush back behind the wall before you get hit, then take out the Falcon 2 you just picked up. Go to the edge of the wall and lean out to blast the last two guards, but make sure to hide behind the wall quickly before they get a chance to hit you as you can't get hit at all during this last stage. |
 |
» Back to top
Device Training
The device training allows you to familiarize yourself with the several devices that you'll need to complete certain missions with. Each device will have a unique objective, from hacking into a terminal to finding a hidden door. This section will assist you to complete all 10 devices.
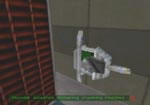
| Data Uplink |
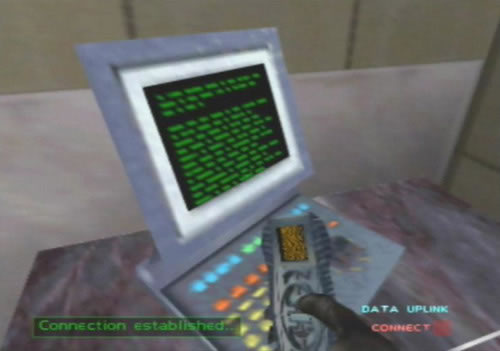
| Pick up the Data Uplink from the table, select it from the Quick-Menu, then walk over to the lone terminal in the corner of the room, press B and face it until the Uplink is finished. |
 |
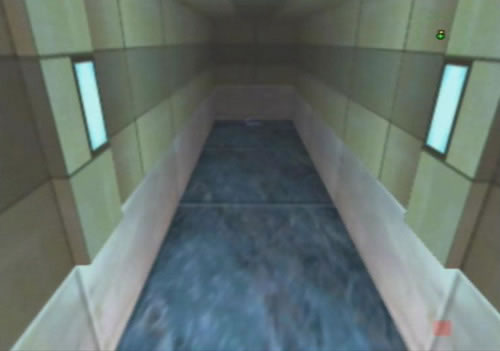
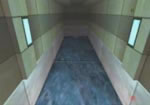
| ECM Mine |
 |
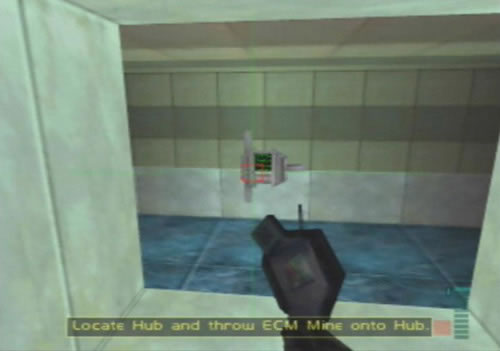
Pick up the mine, then go through the secret door to your left. Walk forward, then turn right at the corridor and walk all the way to the end of the hallway. Aim at the console in the small room in front of you and throw a mine at it. |
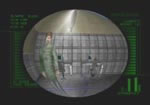
| CamSpy |
| Pick up the CamSpy, face away from the table, then select it from your inventory. Once it's activated, fly it through the secret door and then turn it left. Go to the end of the hallway into the air duct, then follow the duct until you find a brown door. Send the CamSpy up to it and the door will open automatically. You should now be in the Hacker Central room. Go up to one of the terminals and press Z to take a photo. |
 |
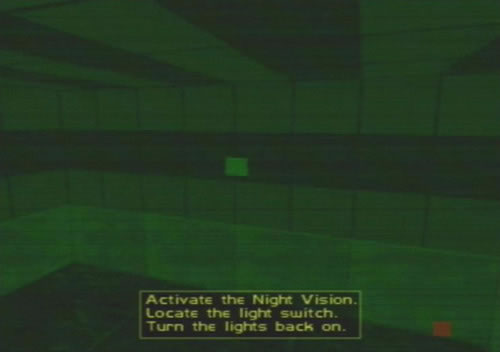
| Night Vision |
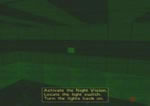 |
Pick up the Night Vision and go through the secret door. Go left and enter the dark room in front of you. Activate the Night Vision, go over to the wall on the right and press B to turn on the light switch. |
| Door Decoder |
| Pick up the decoder and go through the secret door. Go right, then go forward and then through the hallway on the left. Face the console next to the door and press Z or B to attach the decoder to it. |
 |
| R-Tracker |
 |
Pick up the R-Tracker and activate it. Go through the secret door, then head to the door next to the console you used the decoder on. Go though the door, then go forward and go through the second opening on the left wall. Follow the path to find the IR Scanner. |
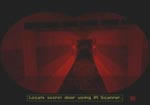
| IR Scanner |
| Pick up the IR Scanner and activate it. Go through the secret door, then head through the second door. Go through the first opening on the left of the long hallway, then make your way down the corridors. You should eventually see part of the wall highlighted. Press B to open the door. |
 |
| X-Ray Scanner |
 |
Pick up the X-Ray Scanner, then head to the door that you found with the IR Scanner. Once you get there, activate the X-Ray and head through the door. Once you enter the room with the laser beams blocking your way, look at the walls on the left and right to find the consoles. Activate both of them to turn the beams off. |
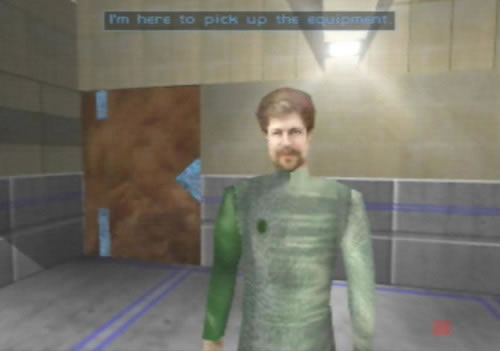
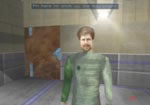
| Disguise |
| Pick up the disguise and select it from your inventory. Head through the secret door and go left to the air ducts. Crouch down and make your way to the Hacker Central room. Open the door and walk up to Grimshaw to get the Cloaking Device (If you want, you can rip into him with your fists, but he'll just ignore you and take no damage!). |
 |
| Cloaking Device |
 |
Pick up the Cloaking Device and head to the room that used to have the laser beams active. Once you get there, activate the CD and hurry through past the security camera hiding in the hallway just ahead. Once you reach the end of the tunnel, open the door and you'll be in Carrington's office. Go up to him and turn the CD off to finish the device training. |