


dataDyne Central - Defection
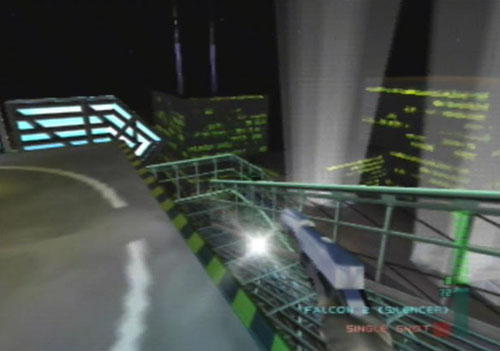 Get down to the top of the building by way of this ramp. |
 Watch out for the sneaky cameras watching your every move. |
 Plant the ECM Mine in this red-hot corner. |
 Get ready for the welcoming commitee. |
 Teach this guy to always watch his back. |
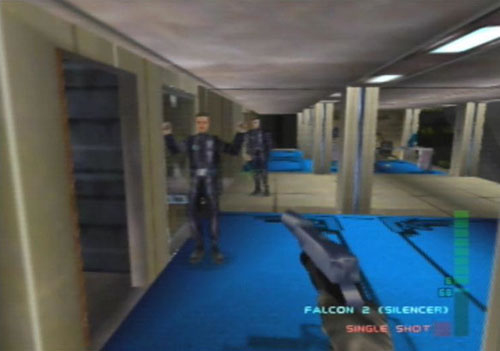
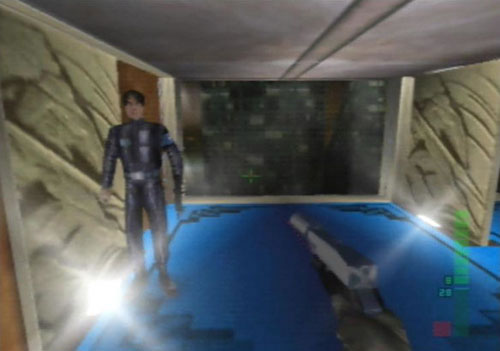
 Pay Cassandra a visit (but don't shoot her or you'll fail). |
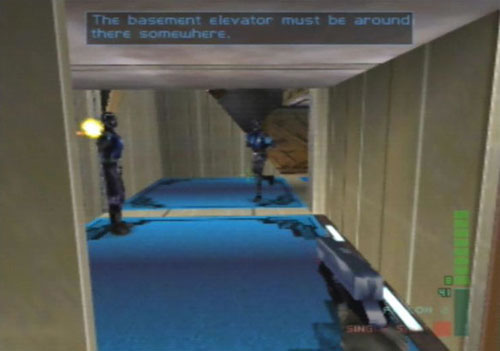
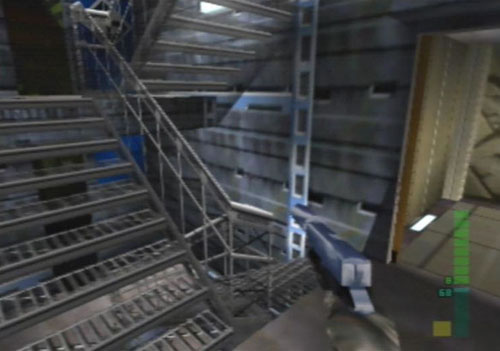 Take the stairs when the elevators don't work. |
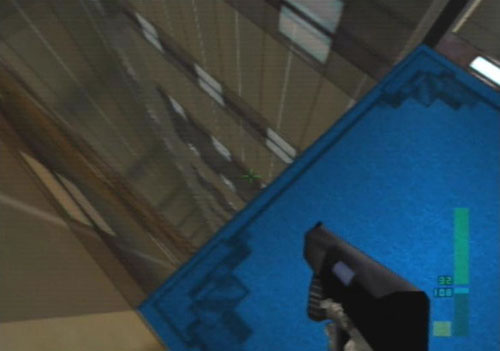
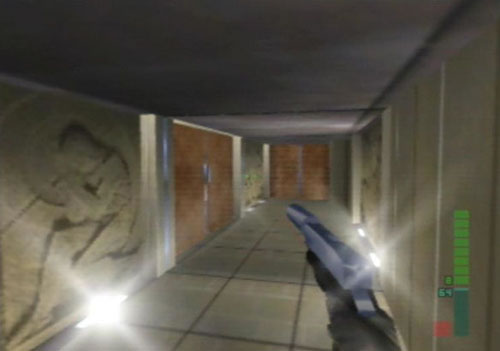 Traverse these corridors carefully. |
 Keep an eye out for guards hiding around corners and doors. |
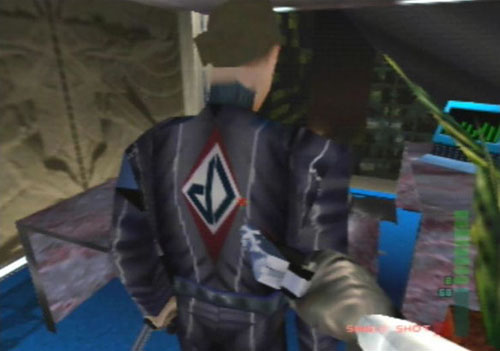
 Show this double-slinger how it's done (and nab his second Falcon 2). |
 You'll need this fella alive if you want to proceed. |
Agent
1. Gain entrance to laboratory
Nice and easy, all you need to do is get down to the ground floor and find the elevator leading to the underground lab. Once the mission begins, jump down off the helipad and head down to the roof door. Blast the guard here if he sees you, otherwise knock him out from behind. Head into the building, then as you reach the top of the ramp leading down, there'll be a guard right around the corner so get ready to blast him.
On Agent one shot from the CMP150 is enough to knock them down so this should be easy. Head down to the next door and head down the stairs. You'll now be on the same floor as Cassandra's office. As soon as you enter the floor, call the elevator to your left and wait for it to appear. Jump in and head down to the ground floor.
Once there, rush out of the elevator and fly down the stairs. Go left and head through the door there. A few guards in the next smaller room will greet you, just rush past them, go right around the corner and part of the wall in front of you will open. Rush in and activate the elevator on the right to finish the mission.
Special Agent
1. Disable internal security hub
Before you jump off the helipad, look down to the corner near the door leading inside, you should see the security camera there. Shoot it twice to destroy it, then jump down and head for the door. Inside, look left and you'll spot another camera on the far wall. Destroy it and head down the ramp, blasting the guard as you go. Once at the bottom, take out an ECM Mine and walk to the left, you should easily see the security hub up on the wall. Aim and throw the mine so it lands on the hub to complete objective 1.
2. Obtain keycode necklace
Once the hub's disabled, head down to Cassandra's office. Once you're outside the large door, make sure all the guards on this floor are gone. Head into her office and switch to pistol whip or unarm. Knock Cassandra out before she alerts security and grab her necklace, but make sure that you do not kill her or her secretary, otherwise the mission will fail.
3. Disable external comms hub
With that over with, head out of her office and call either of the two elevators up. Once one arrives, go in and head down to the ground floor. Once you reach the foyer, blast the guards that appear and head down the stairs, then go through the door on the right to find the security room. Blast the three guards here and take out another ECM Mine. The hub is on the left wall down near the floor, so crouch down to get a better aim. Once the mine's attached, you'll have completed objective 3.
4. Gain entrance to laboratory
Head out of the security room and go over to the other door leading to the lab elevator. Open the door and rush around the wall on the right, ignoring the guards if you wish. The wall panel ahead will automatically open, rush in and open the elevator on the right to finish the mission.
Perfect Agent
1. Disable internal security hub
Shoot out the camera below near the door before you jump down, then quickly blast the guard before he sees you. Head down and go through door. This time there'll be two cameras in the roof level, the first one is on the other end of the room, the second one is just to the left of the guard at the top of the ramp. Blast the guard and destroy both cameras. Head down to the comms hub and plant a mine there for objective 1.
2. Obtain keycode necklace
Head down the stairs to Cassandra's office, and use the CMP150's lock-on function to easily blast any guards, this way you won't waste ammo; ammo is very precious on PA. Blast the guard standing next to the desk near the office door, then look down at the desk and press B to activate the small button on the desk to unlock the office door. Head in and knock out Cassandra to grab her necklace and complete objective 2.
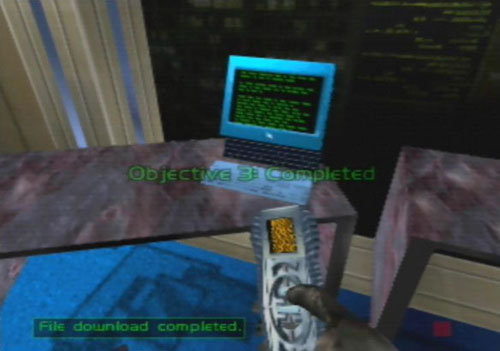
3. Download project files
You'll need to be very sneaky now to avoid confronting too many guards on the two floors below. Head over to the stairs and go down to the next floor. Blast any guards patrolling, but try to avoid alerting too many guards, if they appear, run back into the stairs and wait there and blast them as they appear at the door. Once it's safe to proceed, head out and go down towards other side on the elevators, then head around the corner and make sure no guards are here. Just around the corner of the elevator is a camera, quickly shoot it before the alarm goes off. Go back to the stairs and head down to the lower floor.
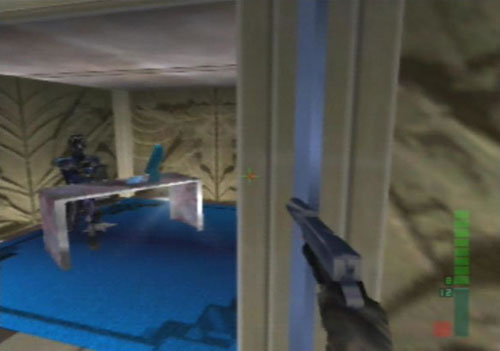
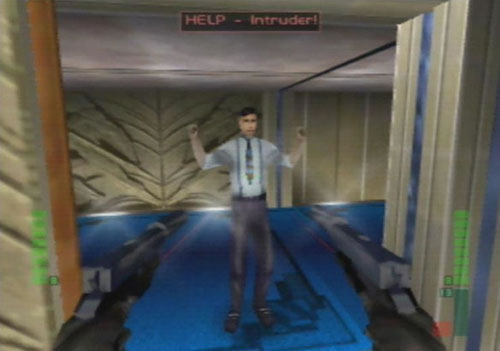
Blast any patrolling guards, then head around to the back of the elevators. Go through the door at the end of the hallway, then shoot the camera to the left. Go down the hallway lining the windows, and make sure you blast the guard in the first room on the left, as he has two Falcon 2's, so he can easily put an end to your mission. Once he's gone, walk up to the other door and wait there. You'll hear a phone ringing from inside, and a man will begin talking. Wait for him to hang up and open the door. He'll be startled and will run, just get close to him and Joanna will order him to access the files for you. Follow him to the elevator but do not shoot him. If you let him run off, he'll either run to some guards or he'll go over to the small room near the elevators and hide there. If he does, you can then grab the Laptop Gun in the room, but you can still beat the mission without it.
Once you reach the upper floor, he'll walk around to the back behind the dead camera. He'll then go into the room at the end of the corridor and will begin logging on to the computer on the desk. Once he says, "Right, I'm in," quickly knock him out before he deletes the files. Once he's out take out the Data Uplink and hack into the terminal to complete objective 3.
4. Disable external comms hub
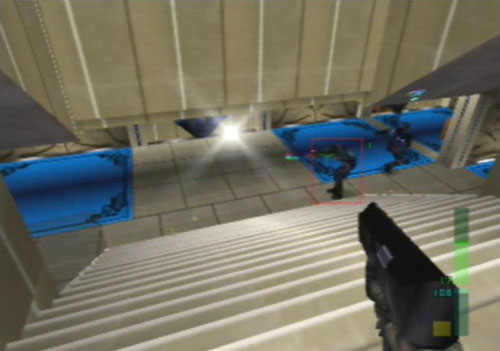
You now need to head down to the foyer. Head around to the elevators and use either one to get down to the ground floor. Crouch down in the elevator so that you can get out of it once it lands without being seen by the two guards standing by the main entrance. Crawl out and take out the CMP150, with the lock-on function active. Head over to the top of the stairs and start alerting the guards. They'll slowly come up the stairs, stay crouched and you should easily be able to pop them before they can hit you.
You have to knock down several guards before they stop coming, once they're gone, head down to the right to the security room. Open the door and quickly blast the two guards in front of you. Remember, if you can pull off a head shot it really helps. After the three guards are down, plant a mine on the security hub to complete objective 4.
5. Gain entrance to laboratory
You're nearly done, head back into the foyer and go over to the other door in the corner. Open it and blast any guards you see, but more will come around the corner inside, so back out of there and wait for them to come out before firing. Once they're gone, head in and activate the elevator behind the sliding panel to finish the mission.
 "Persuade" him to help you out. Two guns should do the trick. |
 Once he's logged on knock him out and hack the terminal. |
 Ride the elevator down to the enemy-infested foyer. |
 Take the main stairs carefully - there's trouble afoot. |
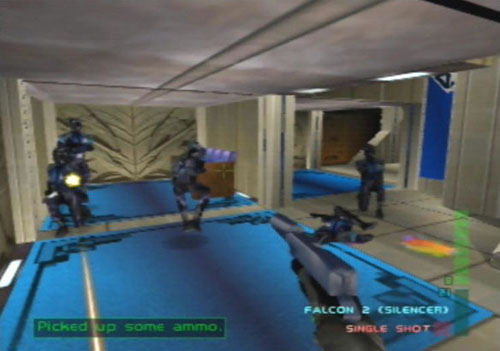 Take cover and keep moving against these tricky adversaries. |
 Here's where you need to plant the second ECM Mine. |
 Head towards the lab elevator past this sliding wall. |
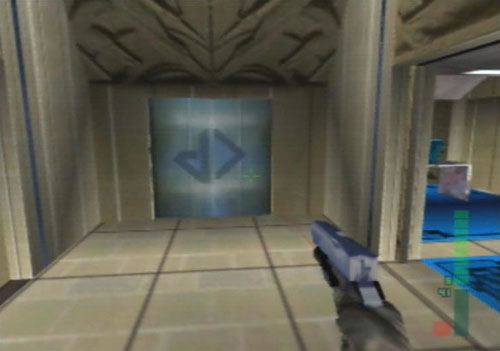 Here's exactly where you need to be. Open the door to finish. |
 All in a day's work for this Perfect Agent. |
Next Mission: dataDyne Research - Investigation
dataDyne Central - Defection
dataDyne Research - Investigation | dataDyne Central - Extraction
Carrington Villa - Hostage One | Chicago - Stealth | G5 Building - Reconnaissance
Area 51 - Infiltration | Area 51 - Rescue | Area 51 - Escape | Air Base - Espionage
Air Force One - Antiterrorism | Crash Site - Confrontation | Pelagic II - Exploration
Deep Sea - Nullify Threat | Carrington Institute - Defense | Attack Ship - Covert Assault
Skedar Ruins - Battle Shrine | Mr Blonde's Revenge | Maian SOS | WAR! | The Duel