


Pelagic II - Exploration
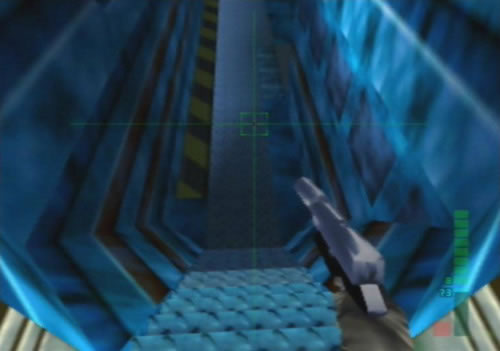
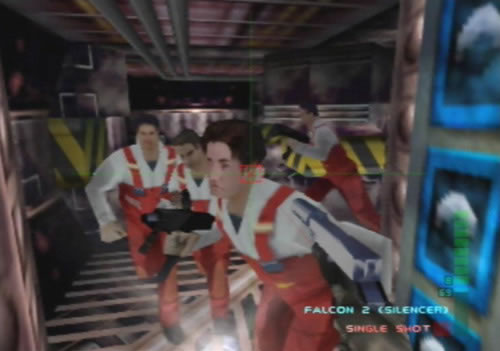
 Elvis will let you get on with things while he wanders around the bay. |
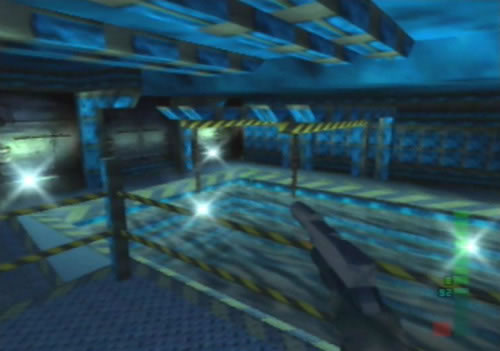 This bay only serves as an entry point. |
 The rest of the ship is beyond that door. |
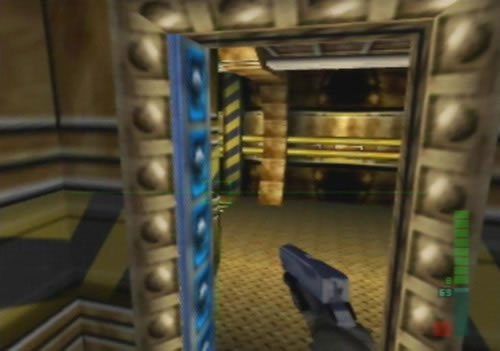
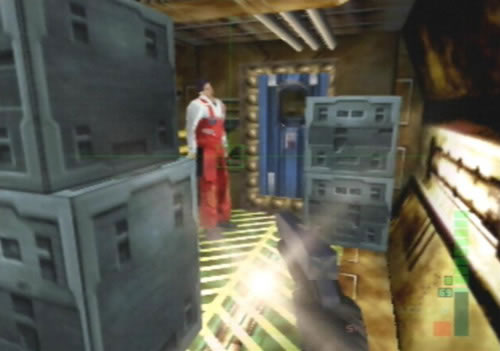
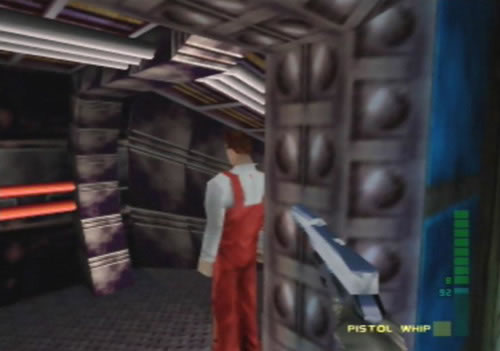 Sneak out slowly and conk this guy on the head. |
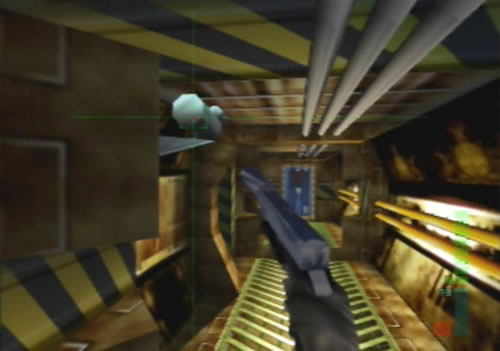
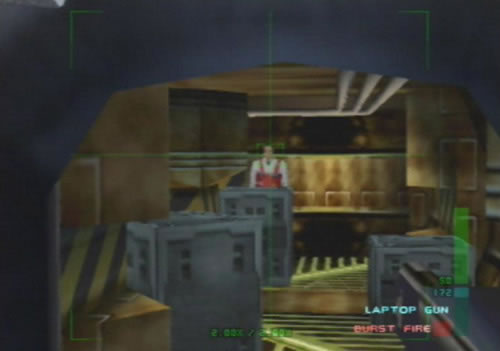
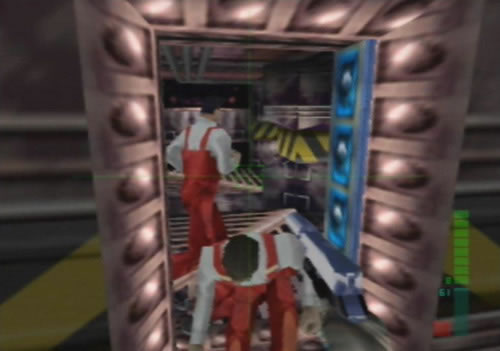
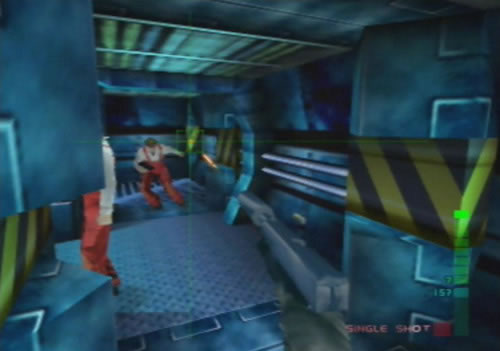
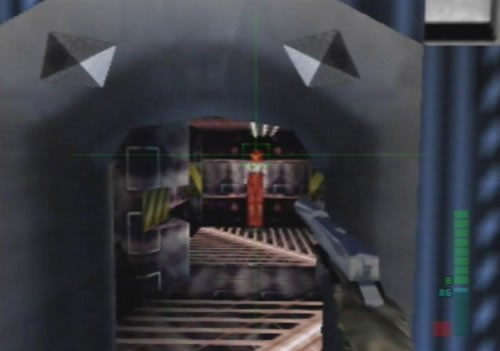 Use the windows in the doors to pick off unsuspecting guards. |
 Make sure the guards don't make it to an alarm. |
 Use the X-Ray Scan to see guards through the walls. |
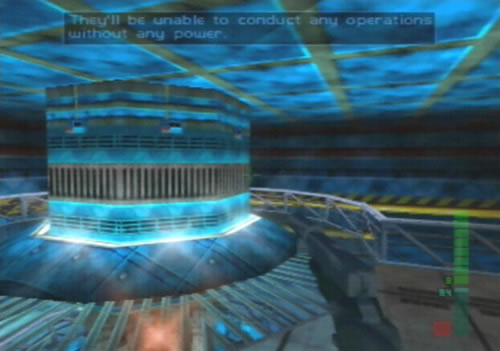 You'll need to flick the right switches on this device to shut down the power. |
 But watch out for the cameras out of sight. |
 A guard or two may come up from down below. |
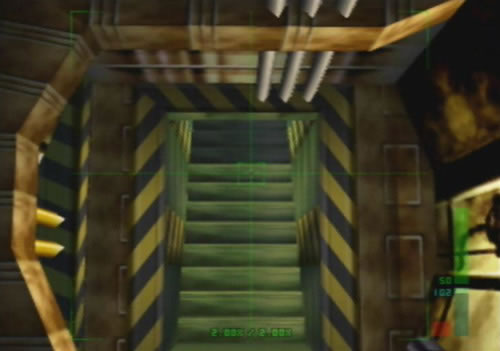
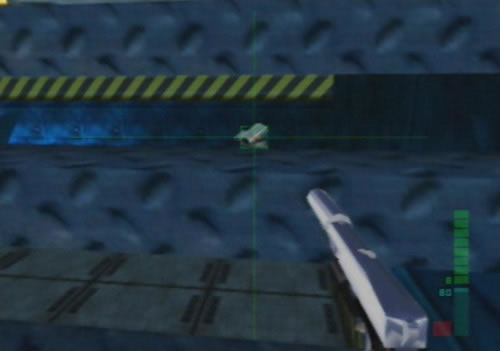 Destroy the other camera hidden behind the stairs. |
 Use the X-Ray Scan to see the green switches and turn them off. |
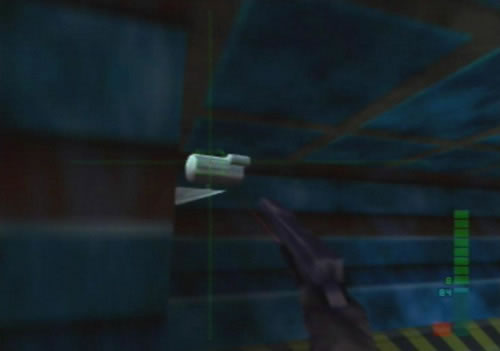
 Then hit this switch to shut the power down. |
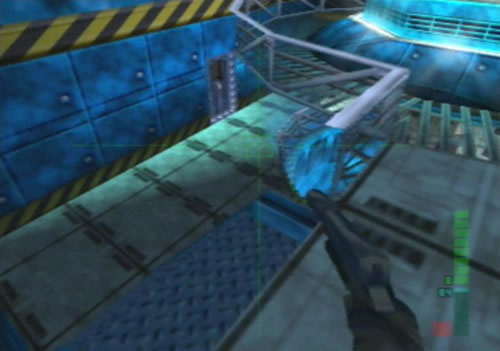
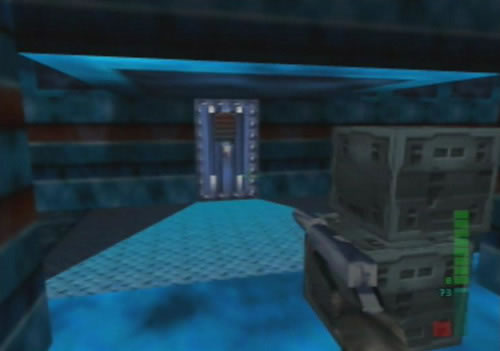
 Go through this room to find stairs leading skyward. |
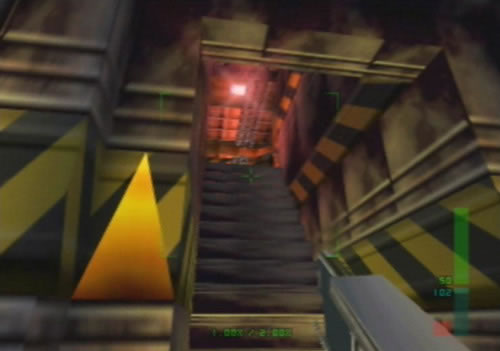 Head up to the next level above. |
 Go up the second flight of stairs but watch out for guards above. |
 Knock them both down before going up to the bridge. |
 The pilots surrender easily. |
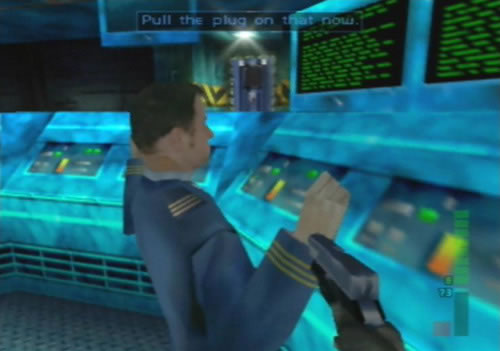 Walk up to one to get him to shut the system down. |
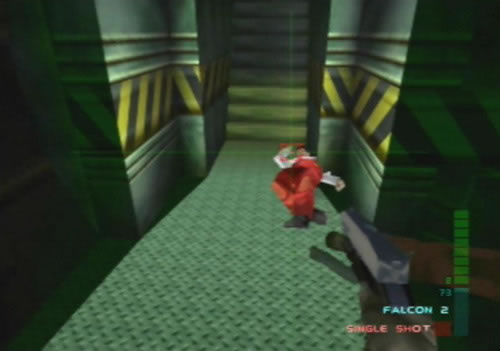
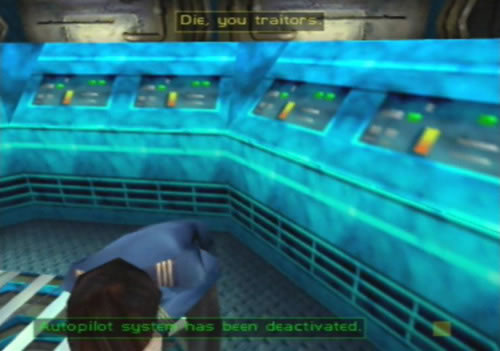 Watch the other two pilots, one will pull out a Magnum and try to fire. |
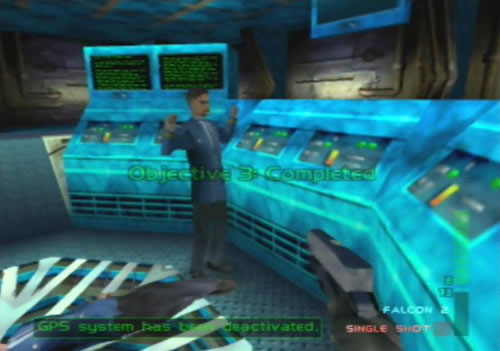 Get the third pilot to shut the GPS system down. |
 Go through this door on the bridge and knock out the guard. |
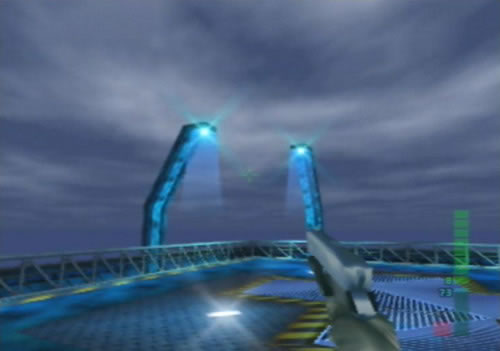 Enjoy the view from this deserted helipad. |
 Go through one of these corridors to reach the lower outside deck. |
 Take down the guard then descend the stairs. |
 Go through this door to enter the research deck of the ship. |
Agent
1. Disable primary power source
Once you begin, leave Elvis and go right. You should see a door at the other end of the room. Head through, then knock out the guard standing by the door. Head right down the corridor, then turn left and quickly knock down the guard there before he can activate the alarm on the wall. Head over to next door, look through the window, you should see a guard straight ahead in the next room. Take out the Laptop Gun and pop him in the head. Another guard will run over, blast him then enter the room. Take out the CMP150 and blast the remaining guards in the room, just make sure that the alarm isn't activated.
Once the guards are gone, head down the next corridor, then go through the door on the left. You should now be in the room with the power generator. Blast any guards wandering around, then slowly walk up to the generator, then face left and shoot out the security camera on the wall. If any guards fire at you from below, jump down the ladder and blast them, then shoot out the second camera below the ladder. Head back up to the switches on the generator and switch on the X-Ray Scan.
You'll now see several consoles appear on the generator, activate the four green ones, but don't touch the red ones, otherwise you'll have to start over. Once they're all active, turn off the X-Ray Scan, head back down the ladder and push the button on the long cylinder-shaped pylon coming out of the generator to shut down the ship's power and to complete objective 1.
2. Deactivate GPS and autopilot
Once the power's out, go back up the ladder and out into the corridor. Turn left and head through the door at the end of the hallway. There should now be another door directly in front of you and a staircase leading up on your left. Head up the staircase to the next level, then keep going up the second set of stairs. Once at the top two guards will appear, quickly blast them before they can fire. You should be in a darker room, head right and through the next opening and you'll reach the bridge area.
Walk over to the main console area to the three pilots standing there. Once Joanna stops speaking about shutting down the GPS system, walk up to the nearest pilot and he'll go over to a console to shut it off. As he does this, one of the other pilots will take out a Magnum and shout, "Die, you traitors!" Quickly knock him out before he can fire at the other two, then walk up to the other pilot to get him to shut the autopilot down to complete objective 2.
3. Rendezvous and escape with Elvis
Once the pilots have shut down the consoles, head back over to the staircase. Go down to the to the first level (yellow-walled area), you should then spot two doors on either side of you. Go through the one on the left (with the transparent window) into a yellow-walled corridor. Go in and look left, you'll see a guard there, quickly blast him before he can alert others. Turn around and head to the other end of the corridor, but quickly blast the guard hiding behind the stacked crates. Take out the Laptop Gun and head through the door. In here, several crates will be lying around with three guards hiding behind them and a pillar.
On the left wall is a blocked-off opening leading to the Moon Pool area, you should hear Elvis call out to you from inside, you'll have to get into the room to meet up with him. Blast the guards before they can fire, one is just around the corner, the other two will be behind the pillar. From now on you'll have to blast all the guards in each corridor on the way to the Moon Pool as there won't be much room to move around. Peer through each window on the doors to easily pop the guards, they won't fire back at you unless the door opens, so you should easily be able to get through safely.
Keep heading around through the corridors, and blast the guards hiding behind the crates. Eventually, you should see a door on the left wall of a corridor, head through it and through the opening to reach the Moon Pool room. Head around to the docking platform to complete the mission.
Special Agent
1. Disable primary power source
Once you begin, head over to the door on the right, then switch to pistol whip. Open the door and knock out the guard on the right. Head down the corridor, then carefully edge around the corner and shoot the guard standing there, just make sure he doesn't set the alarm off. Go up to the next door and take out the Laptop Gun. Zoom in on the guard in the next room through the window and pop him, then wait for the next guard to appear and do the same. Take out the CMP150 and head in. Blast the remaining guards before they can set the alarm off. Head into the power generator room, destroy the security camera on the left wall, then switch on the X-Ray Scan. Activate the four green switches on the generator, then head down the ladder and switch off the generator to complete objective 1.
2. Deactivate GPS and autopilot
Blast the camera below the ladder, then head back up into the corridor. Go left and through the next door. Head up two floors on the stairs on the left, then quickly blast the two guards at the top. Go into the main bridge room on the right and walk up to the pilots. Once one of them begins shutting the console down, quickly knock out the pilot that pulls out a Magnum. Order the second pilot to shut off his console to complete objective 2.
3. Activate Moon Pool lift
Head back over to the stairs, then go back down to the very bottom. Take out the Laptop Gun and look through the door on the left. Pop the guard inside the next room, then switch to the CMP150 and head in. Two guards will be patrolling around the area, make sure you knock them both down (if the alarm hasn't been set off yet you should find a second silenced Falcon 2 here). Head down the corridor and blast the two guards at the end, try to avoid having the alarm set off. Go through the door next to the alarm, then head over to the door on the right wall halfway down the corridor. It shouldn't have a window on it, open the door to find the room with the Moon Pool lift controls.
Four guards will be hiding behind several crates in the room, back into the corridor and wait for them to come out, use the CMP150's lock-on to easily blast them, then head in and activate the switch on the right wall at the base of the stairs to complete objective 3.
4. Rendezvous and escape with Elvis
You'll now have to find Elvis, then head over to the Moon Pool. Go back through the windowless door, then head left. Go back down the corridor on the right, once at the end go through the door on the right. Blast any guards around, then go down the staircase on the left wall of the corridor. Quickly knock down the two guards at the bottom, then head through the door on the right. Go though the next door and head forward to the corner. Slowly look around the corner and you'll spot a guard below a camera.
Blast the guard and shoot the camera down before moving on. Go down to the end of the corridor and look through the window of the door on the right. Pop the two guards in the next room, then head in and you should spot a staircase leading down on the left. Jump down the stairs, then immediately rush back up and through the door, close it and look through the window. Two guards from below will follow you back up, blast them and wait for two more guards. If they don't come, head back down the stairs, they'll be patrolling around, blast them and head down one of the two corridors.
Once you reach the end, there'll be staircase leading down banked by two guards. Blast both before they spot you, then look down the staircase. Two more guards are below, grab their attention and blast them as they come up. Head down, blast the guard beyond the door below, head through the door, then the next one to finally find Elvis in a low storage room. Once he begins following you, go all the way back up to the middle floor of the staircase leading up to the main bridge, then head through to the yellow-walled area leading to the Moon Pool.
Use the Laptop Gun and blast the guards through the windows of the doors, just make sure Elvis stays behind you and doesn't get caught up with fighting the guards. Keep moving around the corridors, once you reach the one with the door on the left wall, head through to find the Moon Pool and to complete the mission.
Perfect Agent
1. Disable primary power source
During this mission, make sure that the alarm is never set off by any guards, if it is, heaps of guards will appear throughout the sub, so if the alarm ever goes off, just restart and try again. Once you begin, leave Elvis and turn right. Switch to pistol whip, then head through the door ahead. Knock out the guard on the right and grab his CMP150. Head down the passage on the right, once you reach the corner, crouch down once and slowly edge around the corner until you can see the guard standing there. Pop him in the head, then take out the Laptop Gun and head up to the next door. Zoom in and look through the window of the door. Pop the guard in the next room, then stand back a bit so that when another guard comes over to him and kneels down, you can see his head. Pop him and head into the room (if you miss and one of them heads over to the alarm, quickly go in and blast them with the CMP150's lock-on).
Head into the room and take out the CMP150 with the lock-on function active. Grab the ammo the two guards dropped, then go around the left side of the pillar and slowly edge around the corner on the right. Once the first guard down the hallway spots you, he'll call out "Trigger the alarm!" and will run over to it. Quickly lock onto him and knock him down. Another guard at the rear of the hallway will charge, knock him down quickly before he can hit you. Once the corridor's empty, head through the door on the left where the guard was standing. Now you're in the power generator room. Walk up to the wall straight ahead and switch on the X-Ray Scan. A guard down below will have come up to attack you, try to spot where he is.
If he's already at the top of the ladder, zip around and quickly mow him down. If he's down below with the second security camera below the ladder, stand back and throw an N-Bomb above him so that he's caught in the blast. Once the guard's down, go around the small wall in front of the door and blast the security camera with two shots before it spots you. Switch on the X-Ray Scan and walk over to the large circular power generator. Activate the four green switches on it's side to open the reactor hatch, just don't activate the red ones. Once the hatch is open, switch off the X-Ray Scan and go down the ladder in the corner. At the bottom, turn around and quickly destroy the camera behind the ladder. Go over to the long pylon extending from the core of the generator and activate the switch on the end of it to shut down the generator to complete objective 1.
2. Secure laboratories and research data
Now you'll have to secure research data currently in possession of three scientists on board. Go back up the ladder and head back into the corridor. Go left, then through the door at the end of the hallway. Go up the staircase on the left and stop once you reach the middle floor. Take out the Laptop Gun and go over to the door on the left (the one without a window). Zoom in, then open it and quickly blast the security camera down the corridor on the right. Switch to Unarmed and head down the corridor. Before you reach the ladder straight ahead, you'll spot two doors, one on either side of you. Head through the one on the right and quickly knock out the scientist inside the room before he runs off. Go into the other room to find two more scientists, quickly knock both out to retrieve the experimental data to complete objective 2.
3. Deactivate GPS and autopilot
Now for the autopilot and GPS systems. Go back down the corridor and through the door you came through to find the staircase area again. Take out the CMP150, quickly run up the stairs on the left, then fire at the guard at the top before he runs off. Try to lock onto him quickly, so that if he does run off, once he comes back round the corner you can easily hit him. Go in and quickly mow down the second guard around the corner on the right. Switch to Unarmed and head up the next set of stairs to reach the bridge. Walk up to the closest pilot in the circular command center, then wait for Joanna to order him to shut the autopilot down.
Once he walk off and begins working on the console, watch the other two pilots, once one of them pulls a Magnum, knock him out. Order the other pilot to shut off the GPS to complete objective 3.
4. Activate Moon Pool lift
Be careful now, as once you leave the bridge and head back down the stairs, a guard might appear and attack, keep an eye out for him and blast him quickly if he appears. Head back down the stairs right down to the bottom, then take out the Laptop Gun and look through the window on the left door. You should spot another guard in the next room, quickly pop him, then once another guard walks over to him, try to pop him as well. If you can't, the guard will run over to the alarm on the wall ahead, quickly mow him down, then get ready for more guards to appear. Two guards are patrolling around the area, and another in a room to the left of the one you're looking in will appear. Once all the guards are down, head into the room, stay up against the left wall and switch on the X-Ray Scan.
If the patrolling guards didn't appear, wait for them to come through the door you can see ahead, then quickly rush out behind them and knock the guard out. Make sure that the two guards in this room, the single guard in the left room, and the two patrolling guards are gone before moving on (the first guard you popped from the window will have dropped a second Falcon 2 silencer, pick it up for extra firepower). Head down the corridor and take out the CMP150. Once you reach the end, a guard in the right corner will spot you, quickly lock onto him and blast him before he can hit the alarm, then quickly zip around the corner on the right and blast the second guard. Go over to the door next to the alarm and look through the window.
Pop the guard inside the room, then head in and go up to the windowless door he was standing at. Open it and head through to find the Moon Pool lift control room. If the alarm had gone off, normally there would be four guards hiding behind the crates in this room, but if the alarm hasn't gone off, the room will be empty. Walk over to the switch on the right wall and activate it to complete objective 4.
5. Rendezvous and escape with Elvis
Time to leave, but first you'll have to find Elvis and then get to the Moon Pool room. Before going for Elvis, we'll head around to the Moon Pool room and unlock the large door up on the balcony in the rear of the room you're currently in, so that once you find Elvis, you can just head through this door to complete the mission. Leave the lift control room and head back into the corridor. Go left, then head down the corridor and go back to the staircase leading up to the bridge. Go up to the middle floor, then head through the door on the right. If the alarm hasn't gone off, the yellow-walled corridors leading around to the Moon Pool room will have a lot less guards in them than if the alarm went off, so you'll now begin to understand why it's best to make sure that the alarm never goes off. Pop the guard around the corner on the left, then head right (notice that the guard normally behind the stacked crates is missing).
Make your way around the corridors to the Moon Pool room, you'll find that it'll be much easier to shoot the guards through the door's window with the Laptop Gun to make it safely through. Once you reach the Moon Pool, go over to the switch on the left wall and activate it to open the large door. Go through and you'll find yourself back in the room with the lift controls you used for objective 4. Jump off the balcony and head through the door below it. Go left, then head right, down the corridor until you see a door on the right, head through. You're now in the room which had the single guard stationed earlier, if he's still there, pop him through the door's window. You'll spot a staircase leading down on the left wall. Take out an N-Bomb and look down the stairs. Two guards are below, quickly throw the N-Bomb down there so that it knocks them both out. Go down, grab their ammo and head through the door on the right.
Take a right again through the next door, you'll now be in a long hallway. Go up to the corner of the wall ahead, then carefully look around until you can see the guard standing below a security camera. Quickly blast him, if he runs off, edge out and pop him, then destroy the camera. Go down to the end of the corridor, then quickly zip around the corner of the wall and blast the guard standing opposite the door. Look through the door's window and you'll spot a guard down the end of the next hallway. Pop him and head in. Go to the end of the hallway and look through the door on the right. Pop the two guards in the next room, once they're gone head in and go over to the staircase leading down on the left wall. Down below are two stationed guards and two patrolling guards.
To make it easier for you, take out the Laptop Gun then throw the sentry gun down onto the floor at the base of the stairs. Take out the Falcon 2('s) and wait for the Laptop Gun to blast all four guards below. If any escape the fire and come up to you, quickly pop them. Once they're all down, go down and pick up the Laptop Gun by pressing B while standing (or crouching) near it. Take out the CMP150 again and head down one of the two corridors. Once at the end, crouch down once and edge around the corner until you can see a guard standing there, mow him down, then quickly blast the other guard standing nearby.
Go around the corner and look down the staircase on the left wall. Two guards are below, fire down there to grab their attention, then quickly finish them off when they appear. Head down, then pop the final guard in beyond the door ahead. Head through the two doors to find Elvis. Once he begins following you, rush back up to the main level of the sub, then from there head back to the Moon Pool lift control room. Go up the ramp and open the large door on the wall to reach the Moon Pool room.
Walk over to the right side of the room (the area that you normally come through from the yellow-walled corridors) to complete the mission. Phewey, this is a long and difficult mission, just remember to stay aware of your surroundings and use the X-Ray Scan to see guards through walls. Don't forget to make sure that the alarm never goes off, the mission will be a lot easier if it never does.
 Drop down the ladder and take out this security camera. |
 Knock out the three scientists in the adjacent rooms and grab their disks. |
 Go through to the main deck and enter the room straight across. |
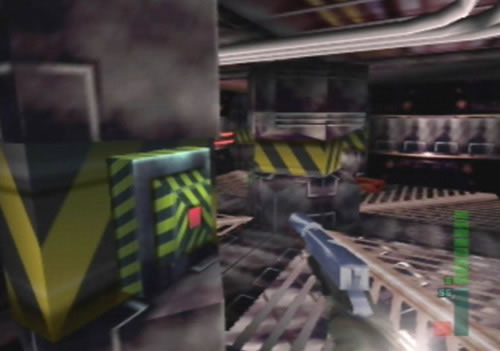
 This level leads to the Moon Pool room, go through carefully. |
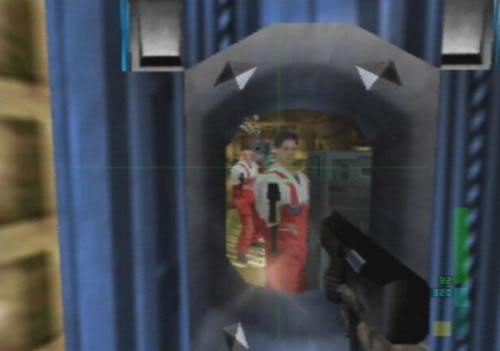
 Use the Laptop Gun to pick off guards through the windows. |
 If an alarm's triggered more guards will appear along these corridors. |
 You're in for a rough time if an alarm goes off. |
 Eventually you'll reach this door leading to the Moon Pool. |
 Now you need to meet up with Elvis before returning here. |
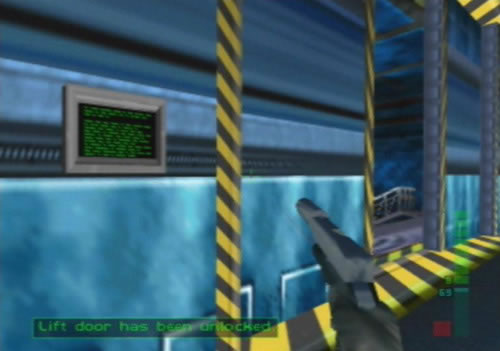 Unlock the large door via this switch so you can come back easily. |
 The Moon Pool lift switch is in here, as well as possible guards. |
 This is why you don't want to set the alarm off. |
 Clear off this area before going down to meet Elvis. |
 This switch does absolutely nothing. |
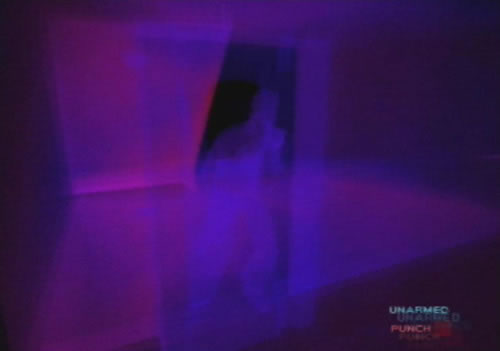
 Use an N-Bomb here to knock these guards out easily. |
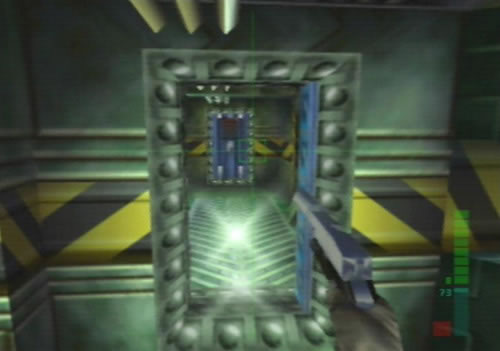
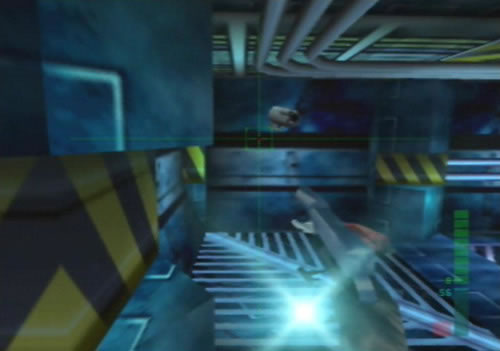 Wind through the blue tunnels watching out for this camera. |
 Watch out for stationed guards down here. |
 Reach this dead-end and you'll be near Elvis. |
 Three guards hide out down here, but don't use an N-Bomb. |
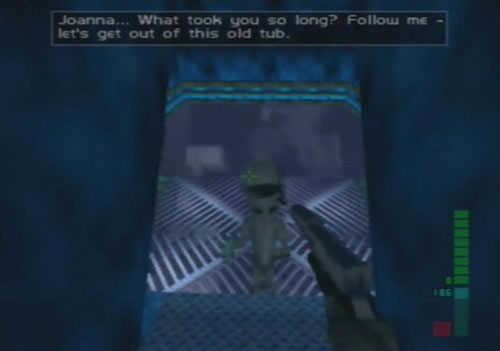 Meet Elvis in this large room, then run back to the Moon Pool room. |
 Joanna and Elvis prepare for their deep sea mission. |
Next Mission: Deep Sea - Nullify Threat
dataDyne Central - Defection
dataDyne Research - Investigation | dataDyne Central - Extraction
Carrington Villa - Hostage One | Chicago - Stealth | G5 Building - Reconnaissance
Area 51 - Infiltration | Area 51 - Rescue | Area 51 - Escape | Air Base - Espionage
Air Force One - Antiterrorism | Crash Site - Confrontation | Pelagic II - Exploration
Deep Sea - Nullify Threat | Carrington Institute - Defense | Attack Ship - Covert Assault
Skedar Ruins - Battle Shrine | Mr Blonde's Revenge | Maian SOS | WAR! | The Duel