


Chicago - Stealth
 There's guards patrolling the streets everywhere. |
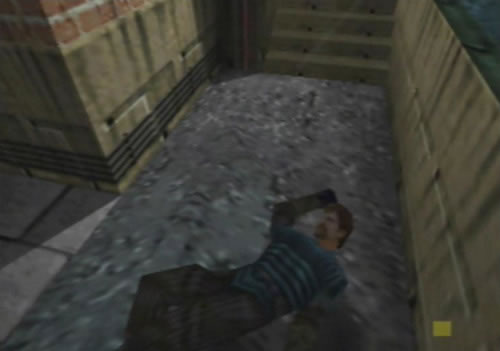 Sneak up on this first one as he walks down the stairs. |
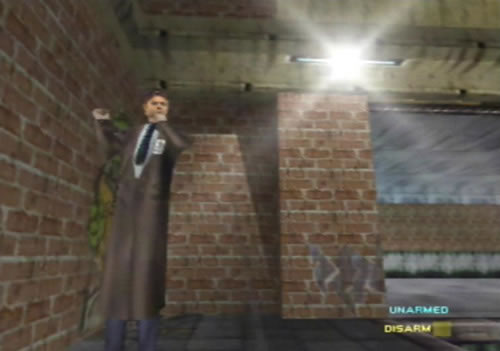 Knock out this FBI agent on the street corner quickly before he raises the alarm. |
 Stay right away from this robot, its shield is permanent. |
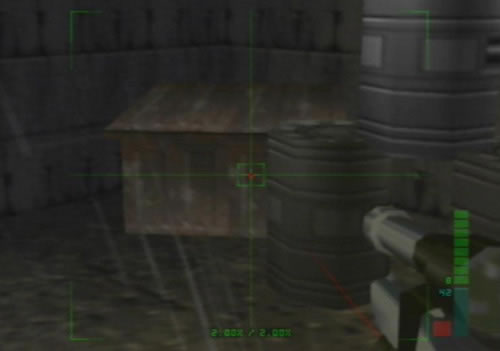
 There's a BombSpy hidden in that dumpster. |
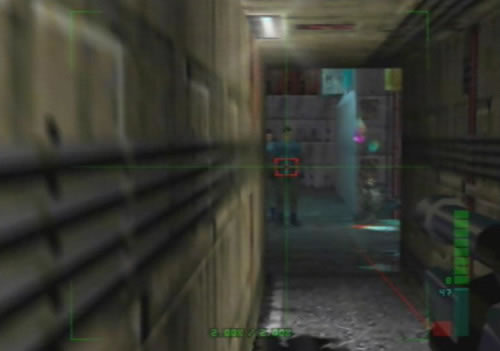
 Peek around the corner ahead and take down the FBI agent quickly. |
 There's a bunch of guards in that courtyard ahead, just don't shoot any civilians. |
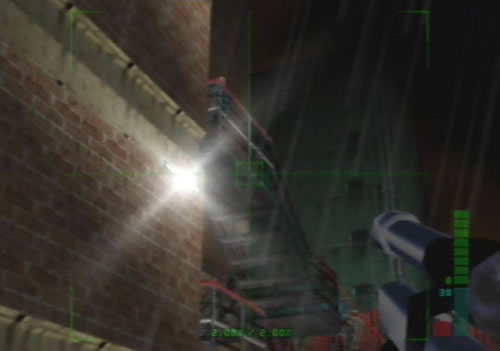 More guards hide out above on the stairwell. |
 You'll need to throw the Tracer Bug onto this car, but don't be seen doing it. |
 Another FBI agent hides out behind the red paneled wall. |
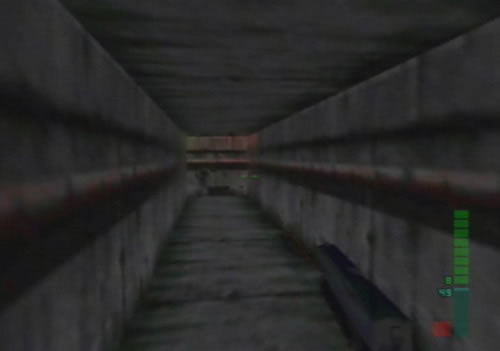 Crawl through this drain to find the underside of the limo. |
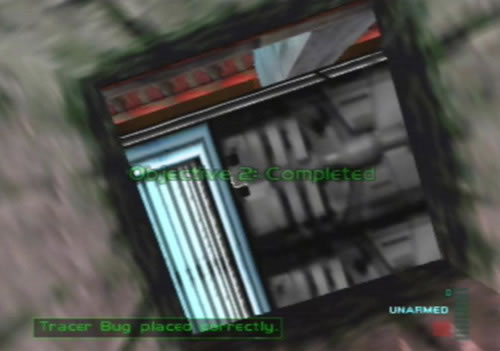 Open the drain cover and throw the Tracer Bug straight up. |
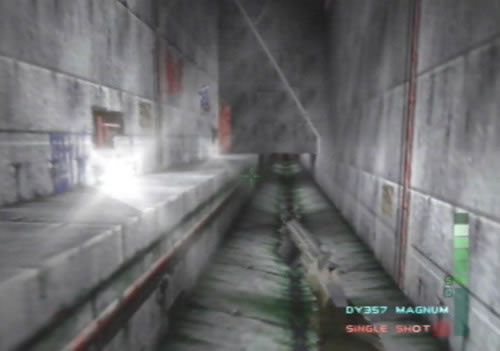 Carry on down this large drain to find the drop-point equipment. |
 Grab the suitcase for a Reprogrammer and a Remote Mine. |
Agent
1. Retrieve drop point equipment
Once the mission begins, go forward but wait at the corner of the alley, a guard will be patrolling just around the corner. If you can sneak up to him and knock him out, do so, otherwise just blast him quickly, but remember not to shoot any of the civilians (they're not really civilians, just look at the badge they wear, it says "CIA" on it) at all during this mission, if one dies you'll fail. Head down to the opening in the wall and go through the small tunnel to reach the main road. Be careful of the G5 Guard Bot patrolling around, you can't destroy it so you'll just have to dodge it's fire. There'll be two guards out on the road, one will be just to the right of the entrance that you come out of, and the other will be way off behind the dumpster. Quickly blast them before they run off, as any guards who dart off will go and seal the car park entrance, you'll then fail the mission.
Once both guards are gone, go over to the opening in the fence behind the dumpster and head through to the back drains. Blast the guards hiding here, then go to the right of the way you came in, then head down the drain on the right. Head forward, then crouch down when you reach the low opening, then head forward and walk up to the grate at the end of the drain. You'll see a briefcase hiding below the grate. Pick it up to complete objective 1.
2. Create vehicular diversion
Go back to the drain with the running water, then head right and go all the way to the end of the drain. Look left and you should see a small opening in the wall. Crouch down and go in, then while facing forward, press B to open the red grate above you. You'll now see the yellow taxi just above the opening. Take out the Data Uplink and hack into the taxi. Once the download completes, the taxi will eventually take off. Climb out of the grate and hide somewhere so that the Guard Bot doesn't see you. Eventually, the taxi will appear around the corner of the main road and slam into the Guard Bot, destroying it and causing the diversion you'll need. Objective 2 complete.
3. Gain entry to G5 building
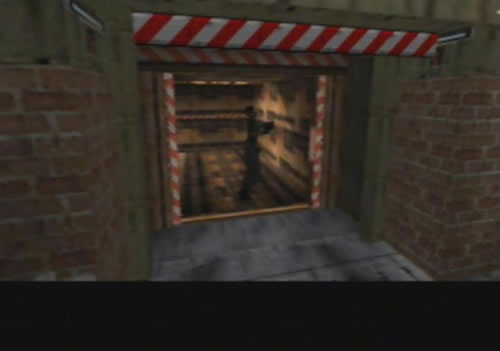
Four guards are guarding the entrance to the car park, once the diversion is created, they'll all leave and head over to the wreck of the taxi and Guard Bot. Quickly rush out, ignore them and run past the wreck, head down the street then go through the opening on the right to find the car park entrance. Rush over to it in the corner of the alley to complete the mission.
Alternate Method - There is another, much quicker way to complete the Agent setting of this mission, first, once the mission begins, rush out and head over to the drain behind the fence on the main road. Go through, ignore the guards and head over to the drain where the briefcase is hiding. Grab it and take out the Remote Mine. This next part is very tricky, climb up the drain and while aiming over to the car park entrance, throw the mine over and detonate it just before it lands among the four guards.
If successful, you should blow them all up and create an alternate diversion. Then just rush over to the entrance to complete the mission. The main guard you'll need to hit is the one standing next to the door controls, he's standing just around the left corner of the opening. Using this method you should be able to beat the mission in under 30 seconds!
Special Agent
1. Retrieve drop point equipment
Once the mission begins, head around the corner and knock down the patrolling guard. Wait for the civilian to run off, then head through the opening in the wall leading to the main road. Switch to Unarm, as once you reach the entrance to the road, an FBI agent will be standing just to your left and will call for reinforcements unless you quickly knock him down. If he does call in for help, a siren will sound and you'll hear a booming voice calling all guards to find you. Guards with Magnums will keep appearing everywhere, you can still beat the mission if this happens but it'll be much more difficult, so try to make sure this doesn't happen.
Once the FBI agent is down, look right and blast the guard there, then quickly hit the guard off behind the dumpster. Head over to the opening in the fence behind the dumpster, then blast all the guards hiding out in the long drain. Head right and go down the empty drain, crouch down under the low opening, then head forward to pick up the briefcase under the grate to complete objective 1.
2. Prepare escape route
Head back to the main road, then once you reach it, go over to the opening behind where the other patrolling guard was, you should easily see it. Go through the tunnel and into the small alley where you'll find two civilians. Wait for them to run off, then carefully go up to the next tunnel. You'll see at the end of it another FBI Agent standing there, quickly blast him before he calls in for backup. Go forward into the alley and blast the guards waiting there. They'll be caught up with the civilians, so wait for the guards to get clear before firing at them, in case you hit a civilian. Three guards will be up on the stairwell on the side of the building, they should be easy to take down.
Once all the guards are gone, head up to the blocked-off door on the second level of the stairwell. Take out the Remote Mine, then place the mine on the door to complete objective 2. You can also place the mine on the upper door, at the end of the next mission, the door which you placed the mine on will be your escape route, so remember which one it was.
3. Create vehicular diversion
Head back out to the main road, then go over to the taxi, but make sure the Guard Bot isn't around. Use the Data Uplink to hack into the taxi, once it's finished hide and wait for it to take off. Once it crashes into the Guard Bot you'll have completed objective 3.
4. Gain entry to G5 building
Run out into the street and head over to the fence opening behind the dumpster. Head down into the drain and back over to where you found the briefcase. Climb up onto the road and rush over to the car park entrance. This way you won't be seen by any of the four guards. Head in to complete the mission.
Perfect Agent
1. Retrieve drop point equipment
At the start, carefully edge around the corner and knock down the guard before he spots you. Head through the opening, once at the main road quickly knock down the FBI agent on your left. Quickly blast the two guards on the main road, but be careful as another FBI agent will be hiding just behind the opening in the fence. Try not to make too much noise. Head through the fence opening and knock him down before he gets chance to call in for backup, then carefully blast the guards hiding in the drain. Use the CMP150 lock on to easily blast them but don't waste too much ammo and try not to get hit much. Head over to the empty drain and go forward to find the briefcase under the grate, objective 1 complete.
2. Attach tracer to limousine
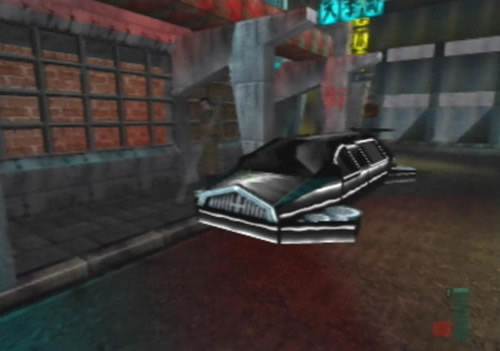
Head back out to the main road, but before you head over to the alleyway leading to the rear of the G5 Building, take out the tracer bug and throw it at the front of the black limousine. It'll take off after about two minutes into the mission, so you'll have to place the bug before it takes off, otherwise you'll fail. Make sure the civilian near the limo doesn't see you place it. Once the bug's attached, objective 2 complete.
3. Prepare escape route
Head down into the alley and knock down the guard patrolling there. Wait for the two civilians to run off, then head over to the escape route area and blast the FBI agent before he reacts. Use the CMP150's lock on, it really helps here. Wait for the guards on the ground to get away from the civilians, then fire at them, but don't waste ammo and don't get hit. Carefully head over to the stairs and blast the three guards above before they fire. Once all the guards are gone, take out the Remote Mine and place it on the lower blocked-up door to complete objective 3.
4. Create vehicular diversion
You can use the same method of using the taxi to create the diversion, but there's a much quicker and far easier way of getting into the building, without having to bother with the taxi or the Guard Bot. First, head back into the small alley you came through earlier. You'll see a dumpster and several explosive barrels here. Push the dumpster over to the stacked-up barrels so that it touches them. Stand back and fire at the barrels so they explode. The explosion will cause the dumpster to blow up as well, and you should notice a white briefcase dropping out of it. Pick it up and you'll have a BombSpy!
Stand at the entrance of the alley near the stairwell, but make sure you're out of range of the Guard Bot. Activate the BombSpy and steer it over to the car park entrance. Three of the four guards will run up to it, you'll have to be quick here otherwise they'll destroy it and seal the entrance. Lure the three guards closer to the guard by the door controls, then detonate it. All four guards and the door controls will blow, you'll then see on the screen a message saying "Alternate diversion created," and objective 4 will be complete.
5. Gain entry to G5 building
Once the guards are gone, just rush out into the street, then head over to the car park entrance, head in to complete the mission. This mission will be tough, you'll need to be fast and stealthy, but using the BombSpy to create the alternate diversion makes it so much easier.
 Use the Reprogrammer to send this taxi away, then wait for it to crash. |
 Or blow open this dumpster by way of the barrels. |
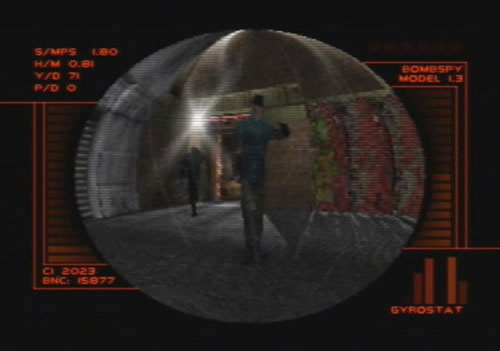 Use the BombSpy to lure the guards over to the door switch. |
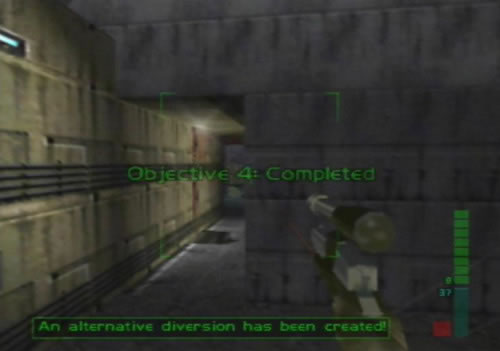 Blow them up to create an alternate diversion. |
 Now clear off the enemies up on the fire escape. |
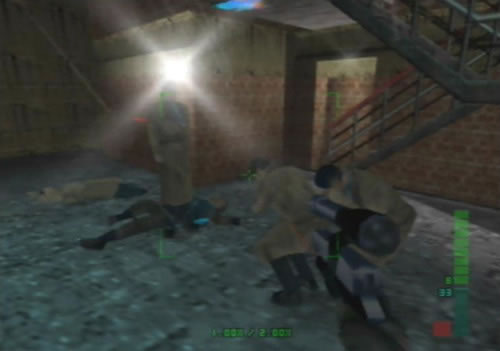 Don't shoot any unarmed civilians or you'll fail. |
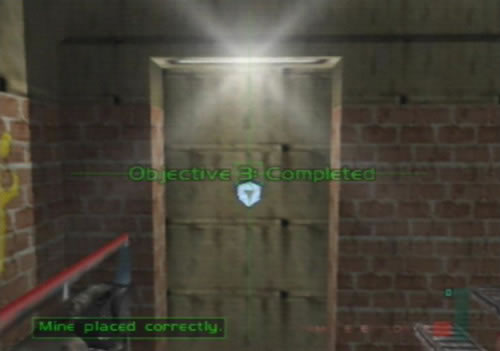 Plant the Remote Mine on this wall to prepare for your escape. |
 You'll find some secret rooms down in the Pond Punk bar. |
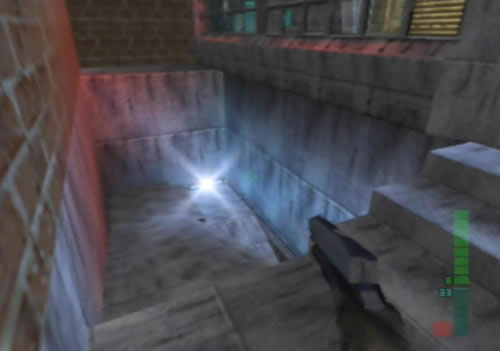 But watch out for enemies waiting below. |
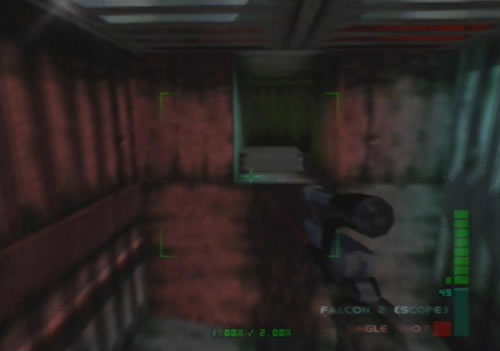
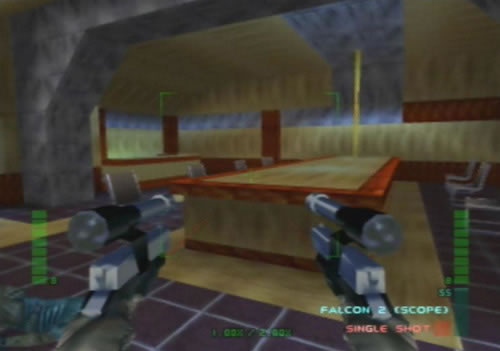 Inside you'll find a second scoped Falcon 2. |
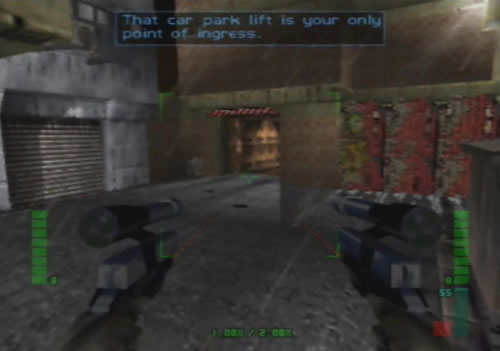 Sneak through to the car park lift when the guards have left. |
 Joanna makes her way into the G5 Building. |
Next Mission: G5 Building - Reconnaissance
dataDyne Central - Defection
dataDyne Research - Investigation | dataDyne Central - Extraction
Carrington Villa - Hostage One | Chicago - Stealth | G5 Building - Reconnaissance
Area 51 - Infiltration | Area 51 - Rescue | Area 51 - Escape | Air Base - Espionage
Air Force One - Antiterrorism | Crash Site - Confrontation | Pelagic II - Exploration
Deep Sea - Nullify Threat | Carrington Institute - Defense | Attack Ship - Covert Assault
Skedar Ruins - Battle Shrine | Mr Blonde's Revenge | Maian SOS | WAR! | The Duel