


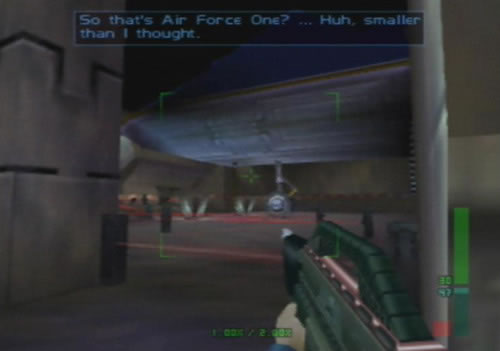
Air Base - Espionage
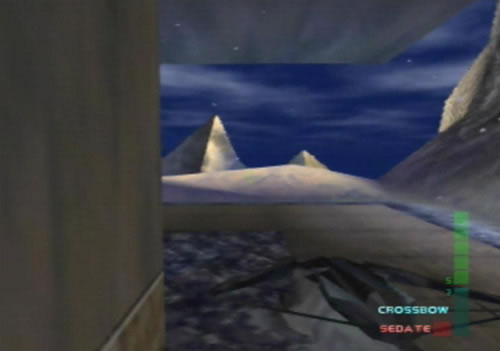 Use the Crossbow to sedate the airbase guards. |
 The DrugSpy also helps when there's a pack of guards around. |
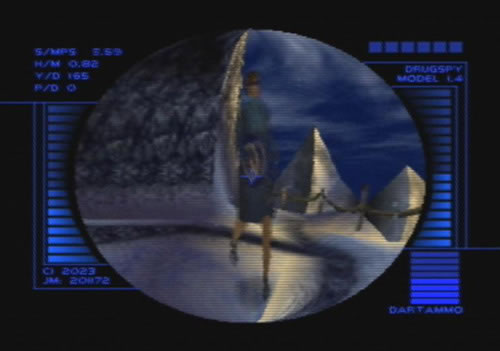 Sedate the stewardess and she'll drop the uniform. |
 Grab the uniform, put in on and switch to Unarmed. |
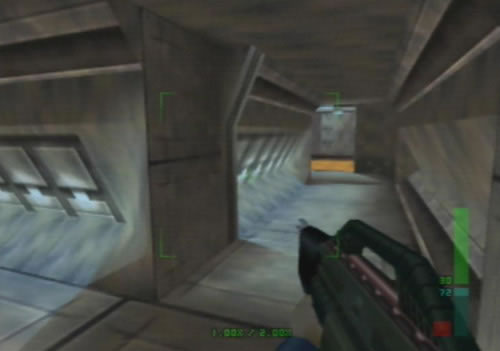
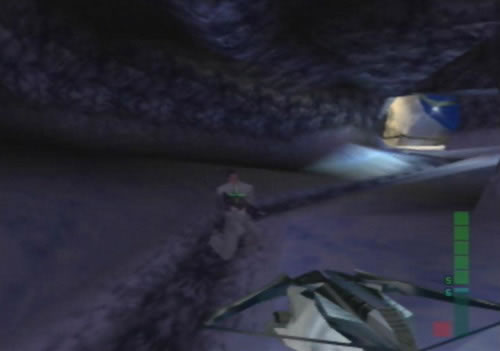 Head down this rocky tunnel and sedate the guards. |
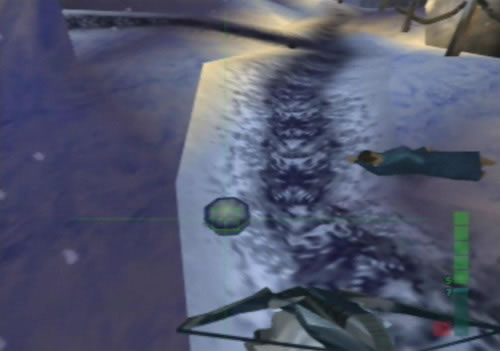
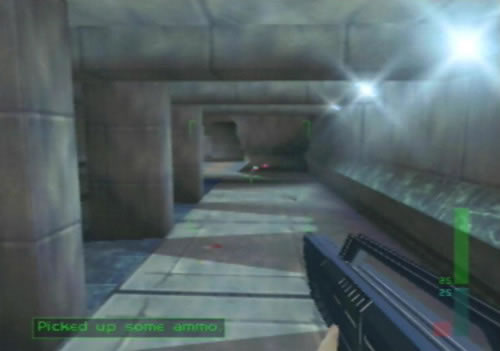
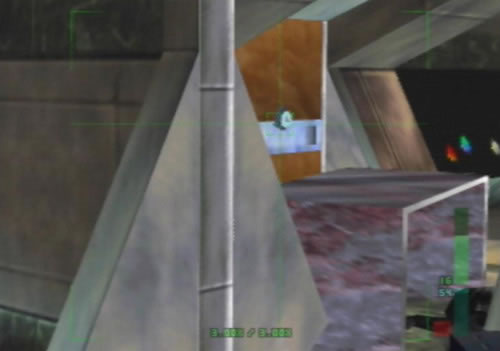
 Down where the carriage docks you'll find a Proximity Mine. |
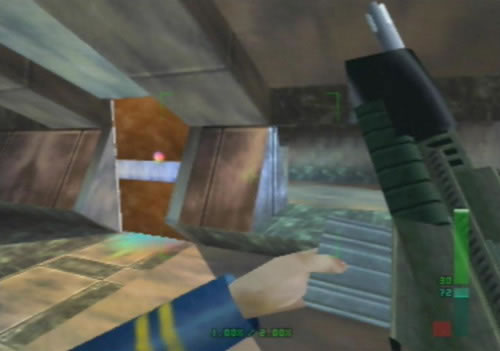
 Make sure this alarm's never tripped by a guard. |
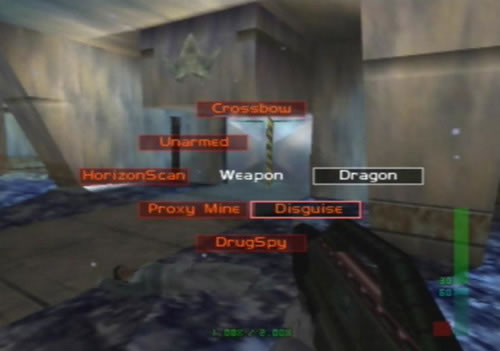 Put on the disguise and head inside the base. |
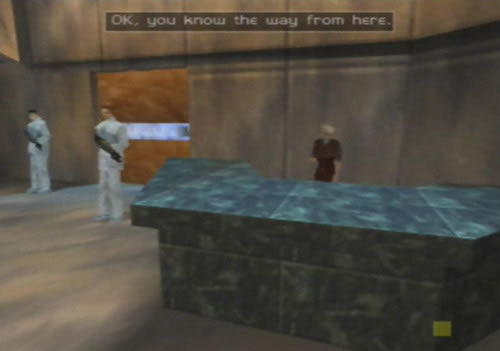 The desk secretary falls for the disguise, so do the guards. |
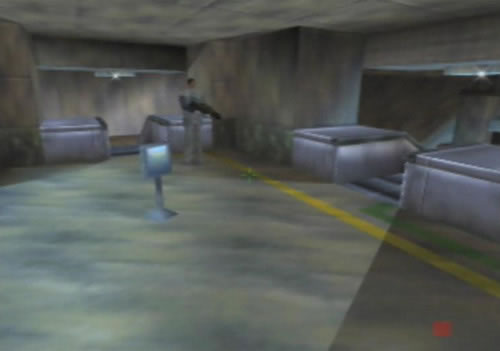
 Ride up this elevator to find a suitcase for all your gear. |
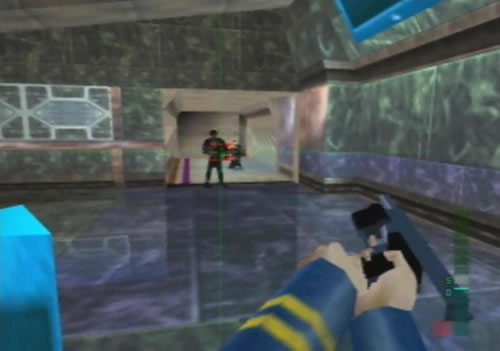
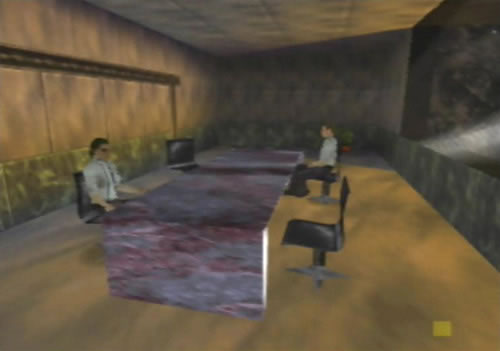 Don't worry about these two workers... |
 Until now. Grab the suitcase and knock both of them out. |
 Go through this door to enter the base with the suitcase in hand. |
 Run down the escalator on the left by the guard. |
 Drop the suitcase onto this ledge and run through the metal detector. |
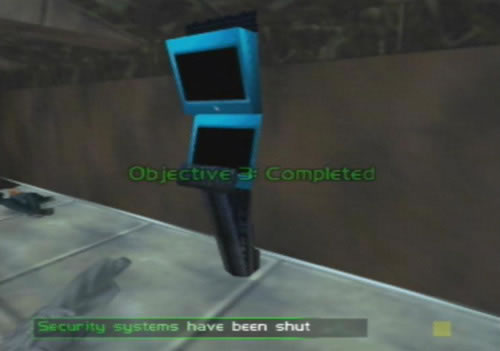 Knock out the guard in front of this console and activate it. |
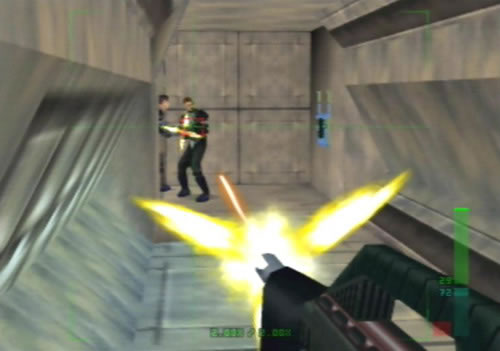
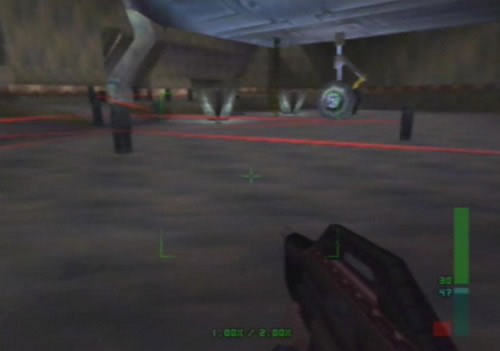
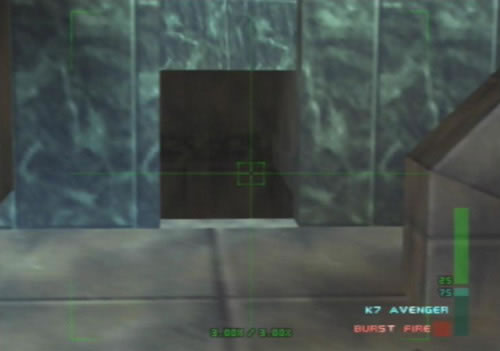 Grab the K7 Avenger from the other guard and wait for hostiles here. |
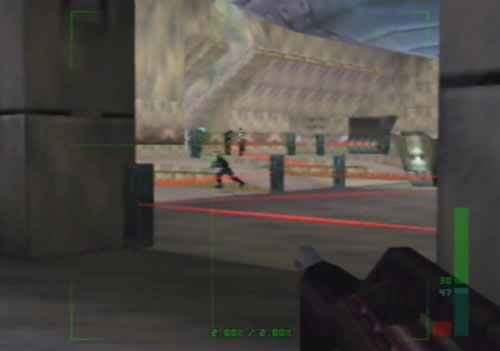
 The guards wearing dark clothes aren't friendly. |
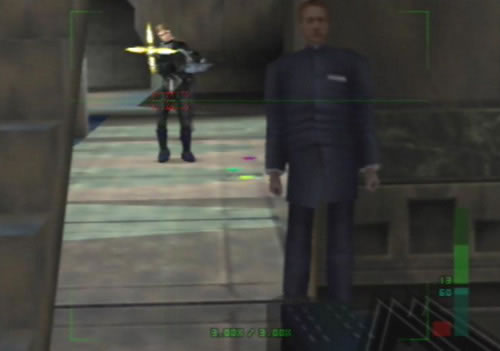 Climb down the stairs carefully and pick this group of guards off. |
 Watch out for any more coming around the corner. |
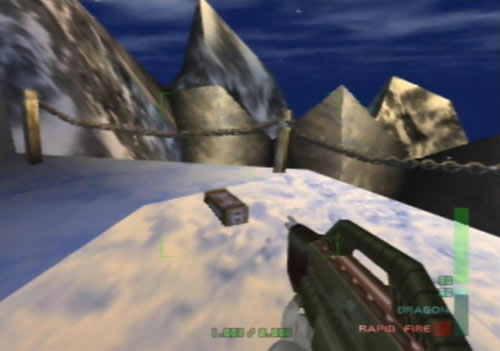
 You'll find Dragons strewn around this area, as well as more guards. |
Agent
1. Obtain Disguise and enter base
Once you begin, head around the front of the building and shoot a bolt at the guard patrolling, just DON'T shoot any white Alaskan guards otherwise you'll fail the mission. Head over to the cave entrance beyond the base entrance, then head down the cavern until you face the stewardess. Quickly knock her out with a bolt and knock down the two guards with her. Grab the uniform she drops and activate it from the Quick Menu. Switch to Unarmed and head back to the main entrance. Head in and walk up to the secretary at the desk. Once she says, "Ok, you know the way from here," go through the door behind the two guards to complete objective 1.
2. Subvert security monitoring system
Once inside, head around the corner and go down the escalator behind the next guard. Once at the bottom you should see the luggage rail next to the security hallway. Head through the security hallway and into the next larger room with the other escalator. Head over to the opening on the other side of the escalator and ignore the dark-blue guard that says, "You shouldn't have come here girl," when you pass him. Head through the opening and go down the next hallway. Knock out any white guard from behind to grab their Dragon, then once you reach two separate hallways, go down the one on the right leading to a staircase.
Head up the staircase and you'll be in a room with a dark-blue guard and a white guard in front of a console. Run up to the dark-blue guard and disarm him (he'll be holding a K7 Avenger), whip around, knock out the white guard and activate the console to complete objective 2.
3. Board Air Force One
Once the security systems are disabled, the music will become faster and a heap of NSA guards will flood the base. Knock out the dark-blue guard take out the K7 or Dragon. Head back down the stairs and blast any guards there, they shouldn't be too much trouble. There are now two ways to reach Air Force One, the first way is to go up the ladder on the underside of the plane. Go straight down the hallway, then turn left at the second opening. You should see an elevator ahead, run up and call it, then quickly shoot the guard on your left to get a shield. Fend off any guards coming up behind you, then jump in the elevator once it arrives.
Once you reach the bottom of the large shaft, jump out of the elevator and head down the hallway. Blast the two guards here, then shoot out the console on the wall on the right. Once it blows, the laser defense system will overload and allow you passage to the underside of Air Force One. Head out into the huge room with AFO, you should notice the lasers on the right blinking on and off. Head through, wait for them to disappear then move on before they come back on. Ignore the guards firing at you, then once you reach the underside of the plane, rush over to the ladder near the front landing gear to complete the mission.
The other way to reach the plane is to find the AFO Shuttle. Go down the hallway from the stairs and turn left at the first opening. Blast any guards here that appear. Go back out into the large room with the escalator, then head over to the door to the right of the security hallway. Head in and continue on down the hallway. Blast any guards here, you should eventually spot an elevator at the end of the second long hallway. Head over and call it up. Head down to the bottom and you'll be in the huge hangar where AFO is docked. Knock down the two guards outside the elevator, then head left. Ignore the guards and head up the stairs leading around to the rear of the elevator. Keep going around the hallways and blast any guards there. You should eventually see the shuttle across a metal bridge. Jump in it to complete the mission.
Special Agent
1. Obtain Disguise and enter base
Once the mission begins, activate the DrugSpy. Take it right around the wall on your left, a guard will come out of the alcove by the main door and walk up to the DrugSpy, fire a dart quickly to knock him out. Hover over to the other alcove by the door that has the alarm console, then knock out the guard standing there. Another patrolling guard might have run up to the unconscious body of the first guard, if he has go and knock him out as well, he might also go up the second guard's body. Once the three guards are unconscious, send the DrugSpy into the cave and find the stewardess, then knock her out, if you still have dart ammo, knock out the two patrolling guards as well, if not just use the Crossbow.
Deactivate the DrugSpy and head over to the cave to find the stewardess uniform by her body. If any guards are around, knock them out with the Crossbow, then switch to Unarmed and activate the disguise. Head over to the main entrance of the base and head in. Go up to the secretary, once she allows you into the base, turn around and go over to the elevator in the right corner of the room. Call it down and head in. Once at the top, head around the corner into the meeting room. Ignore the two office workers sitting at the table, go around to the rear of the room and pick up the suitcase lying on the ground.
The office workers will stand up and demand that you return the case, knock them out before they run off. Head back down the elevator and head into the base to complete objective 1.
2. Check in equipment
Go around the corner and head down the escalator behind the guard by the small sign. Once at the bottom, go over to the small platform on the luggage rail and switch to the Suitcase. Drop it on the rail by pressing B to complete objective 2.
3. Subvert security monitoring system
You'll have only about a minute to get to the security systems to shut them off. Quickly rush through the security hallway into the large room and over to the opening beyond the escalator. Ignore the guard that shouts at you, head around to the stairs leading up to the security console, you should probably notice that you've lost all your equipment once you sent the suitcase in, so knock out the patrolling guard on the way to grab his Dragon. Head up the staircase, disarm the darker guard in the corner to get his K7 Avenger, then knock out the white guard beside the console and activate it to complete objective 2.
4. Board Air Force One
The NSA Guards will now fill the base, so you'll have to be very careful, their K7's sting bad. Knock out the dark guard you got the K7 Avenger from, then head back down the staircase and take out the Dragon. Shoot any NSA guards that appear, then head right down to the end of the hallway and go left to find the elevator leading down to Air Force One. Blast the dark guard by the elevator, then call it up. While you're waiting, turn around and face the corner of the hallway, blast any guards appearing there and grab their ammo. Once the elevator arrives, head in and shut the door quickly.
Once at the bottom of the sloping shaft, head out, blast the two guards at the end of the short hallway (go for head shots), then shoot out the console on the right wall to damage the laser defense system. Head out into the huge hangar where AFO is docked, then go through the malfunctioning lasers as they disappear. Ignore the guards firing at you, then once you pass through the lasers head over to the ladder on AFO's underside to complete the mission.
Perfect Agent
1. Obtain Disguise and enter base
This time you'll need to locate the flight plans of AFO before the NSA guards do. Once you begin, stay where you are and switch on the DrugSpy. Hover around the corner and knock out the guard in the alcove, then hover across to the right past the main door over to the other alcove and knock out the guard there. Turn around and watch which guard the patrolling guard runs up to. Quickly follow him and knock him out. A fourth guard will eventually step out from inside the base through the main door, lure him away from the door and knock him out.
Try not to miss any guards, then direct the DrugSpy over to the cave entrance. Head into the cavern and look for the stewardess. Knock her and the two guards escorting her out. Switch off the DrugSpy and quickly head over to the stewardess' unconscious body, then pick up the uniform she dropped. Switch to Unarmed and activate the disguise. Head back over to the main entrance of the base and go in. Walk up to the secretary at the desk and wait until she gives you clearance to enter the base. Turn around and go over to the elevator in the right corner of the room and call it down.
Head in, then once you reach the top, as the door opens, stand within the doorway with your back up against one side of the door, then launch the DrugSpy and send it forward up against the other side of the door. Head into the room and grab the suitcase on the floor at the far end of the table. Once the two office workers stand up, quickly knock out the one closest to you, then run over and knock out the second when he runs off. Head back around to the elevator, the DrugSpy should have jammed the door open so the elevator will be ready for you, then walk into your DrugSpy into the elevator to ride it back down. Head through the door behind the two guards in the main room to enter the base to complete objective 1.
2. Check in equipment
Head around the corner and go down the escalator straight ahead behind the guard. Once at the bottom, go over to the luggage rail on the right and take out the suitcase. Drop it on the rail by pressing B to complete objective 2.
3. Subvert security monitoring system
Now you'll have to be very quick to make it over to the security console before the timer runs out. Quickly head through the security hallway on the right, then head into the large room with the second escalator and quickly knock out the darker guard standing at the base of the escalator. If the patrolling white guard spots you and begins firing, just try to dodge him and keep going over to the opening ahead. Go through the next hallway, then round the corner at the end and turn right. Another patrolling guard will be here, quickly knock him out from behind to get his Dragon. Quickly dash forward to the staircase at the end of the room, then head up to find the security console. Quickly dash around the white guard standing at the console and disarm the darker guard holding the K7 Avenger. Knock out the white guard and activate the console to complete objective 3.
4. Obtain flight plans from safe
The music will now pick up and the NSA guards will appear throughout the base. Normally the darker guard in the corner will begin firing at you, but instead, he'll just be running around aimlessly. Knock him out, then take out the Dragon. Go back down the staircase, and carefully look over to the end of the hallway. Four guards will be ahead, the darker guard by the elevator leading down to AFO will also come out to attack you. Try to pop as many of the guards from here as possible, if you have trouble, dash back up the stairs and look down from the top. Pop any guards that appear.
Once the four NSA guards and the darker guard are down, head down and go back to the large room with the escalators. Two guards will be up at the top of the escalator, and another two will be inside the security hallway across the room. Sneak out and try to pop one of the guards ahead in the head. Once they spot you and begin running at you, quickly dash back into the hallway you came through and wait for them there. Pop each guard as they run around the corner, but don't leave until you count four guards down. Head back into the large room and go over to the brown door to the right of the security hallway. Head through, then close the door behind you (just in case). Head around the corner, then you should spot a guard standing in the corner of the next room.
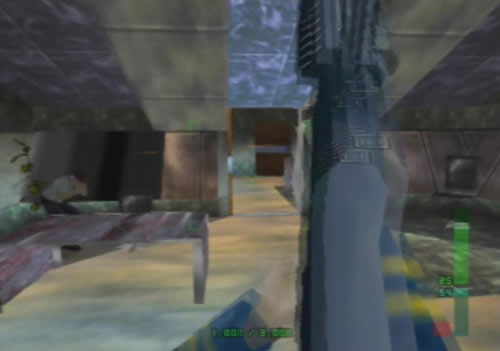
Crouch right down and pop him in the head. Run and grab the Dragon/K7 on the ground where the guard was, then head over to the next hallway. Round the corner, you should then see an elevator straight ahead at the end of the hallway, as well as another guard. Once he begins charging at you, quickly pop him, another guard will also appear, hide behind the corner if you have to. Once the two guards are down, head forward and carefully look through the second door on the left which is just a opening - the door's been removed. In the room beyond the first one you're looking at, three guards will be hiding, one will spot you, wait until they stop running around aimlessly before firing. If they begin firing at you, quickly pop them all.
Once the three guards are down, head into the room and go through the door on the left. An office worker inside the next room will tell you to stop the guards from breaking into the safe, well, you've just done that. Head into the room where the three guards were and stand in the doorway. You'll spot a door on the left wall with a single Remote Mine on it, shoot it once to detonate it. Once the explosions die down, you'll notice that the blast destroyed the glass window on the right of the door. Crouch right down and crawl through the window. The safe will now be in front of you, go over to the button on the wall in the corner, open the glass cover and hit the switch to open the safe. Go around and pick up the black briefcase inside the safe to complete objective 4.
5. Board Air Force One
With the flight plans safely tucked away, slowly edge back over to the window opening by the door. A single guard has appeared in the other room where the Remote Mine was, carefully edge around until you spot him, then quickly pop him before he can hit you. Crawl through the window, then head all the way back to the large room with the escalator. Once there, go back over to the opening ahead, then go down the corridor, turn the corner and head left. Go down the next hallway to find the elevator leading down to AFO. Call it up and wait for it there, you shouldn't encounter any guards on the way to the elevator.
Once it arrives, ride it down the sloping shaft, then head out into the next room and stay up against the corner of the wall ahead. Lean out from the corner and you'll spot a guard standing just ahead in front of the laser defense control system. Quickly pop him, hide if he fires, and make sure you knock down the second guard that also appears. With both guards down, step out from the corner and shoot out the console on the wall to overload the laser defense system. Head out to the huge hangar where AFO is docked, then go over to the first laser on the right. It'll be blinking on and off, wait for it to disappear then head through.
You'll need to pass through several of the blinking lasers to reach AFO, guards across the room will be firing at you, just ignore them and concentrate on getting through the lasers. Once you reach the underside of AFO, quickly dash over to the ladder in front of the the landing gear to complete the mission. This mission's not as tough as the A51 missions, but you'll have to take you time and tread carefully, the K7's the guards use can knock you down very easily.
 Guards come through the metal detector and down the escalator. |
 Head through this door on your way to the flight plans. |
 Keep on your toes here, guards keep coming around the corners. |
 That elevator leads to the AFO shuttle. |
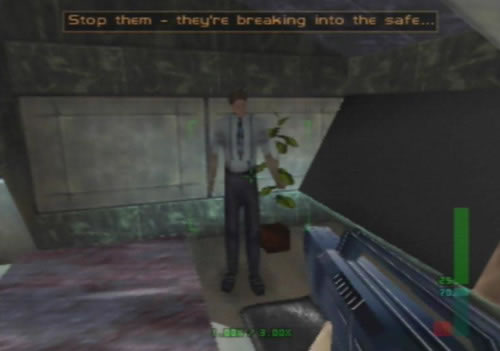 This worker pleads for your help, so help him out. |
 There's a group of guards in this room trying to get the flight plans. |
 Take cover in the worker's room if they come out. |
 Try to shoot this mine on the door while the guards are in there. |
 The mine will blow open this window, so crawl through. |
 Hit this switch to unlock the flight plan's safe. |
 Grab the suitcase to recover the flight plans. |
 Head back over to the escalators and back to the security station. |
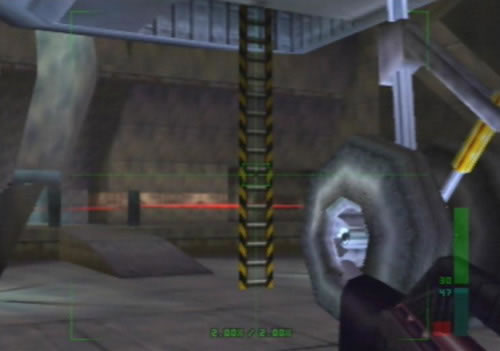
 Go down this corridor to reach the large cargo lift. |
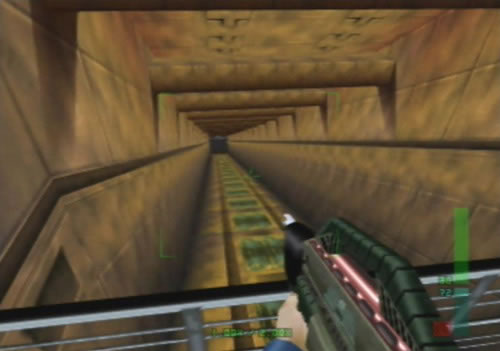 Ride down to reach Air Force One's hangar. |
 Catch these two guards quickly before they see you. |
 Destroy this console to overload the laser fields outside. |
 Go through here to reach the underside of AFO. |
 But watch out for the guards across the room firing at you. |
 Take it carefully through the flickering laser fields. |
 Run up to the ladder to sneak onto Air Force One. |
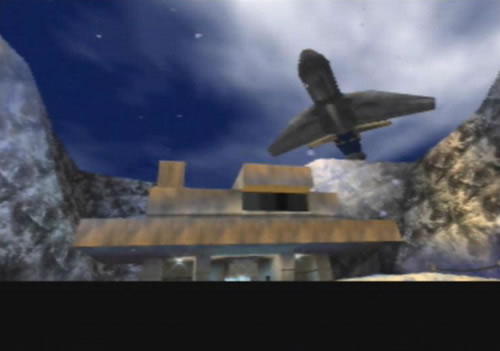 The plane takes off with deadly cargo on board. |
Next Mission: Air Force One - Antiterrorism
dataDyne Central - Defection
dataDyne Research - Investigation | dataDyne Central - Extraction
Carrington Villa - Hostage One | Chicago - Stealth | G5 Building - Reconnaissance
Area 51 - Infiltration | Area 51 - Rescue | Area 51 - Escape | Air Base - Espionage
Air Force One - Antiterrorism | Crash Site - Confrontation | Pelagic II - Exploration
Deep Sea - Nullify Threat | Carrington Institute - Defense | Attack Ship - Covert Assault
Skedar Ruins - Battle Shrine | Mr Blonde's Revenge | Maian SOS | WAR! | The Duel