


dataDyne Research - Investigation
 Explore these twisting underground tunnels outside the elevator. |
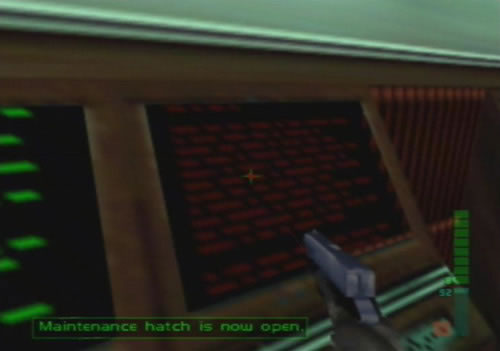 Activate this red console to open up a security hatch. |
 Follow the Cleaning Hovbot and it'll lead you to this secret wall panel. |
 Fiddle with the console on the right to reprogram the hovbot. |
 Activate the hovbot and follow it through enemy-crowded corridors to this room. |
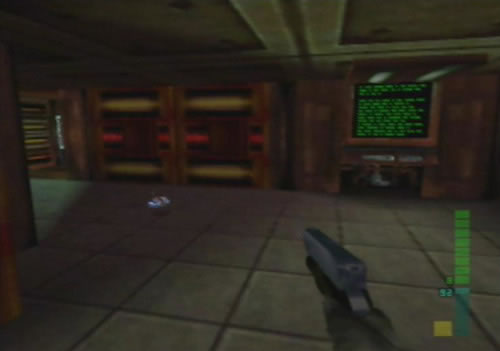
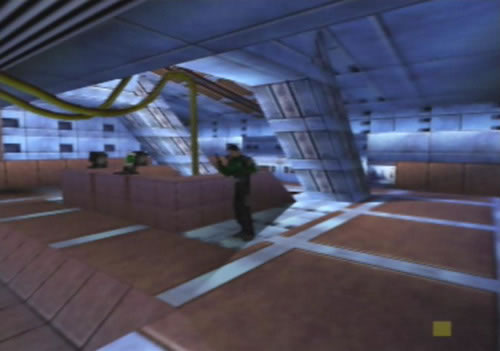
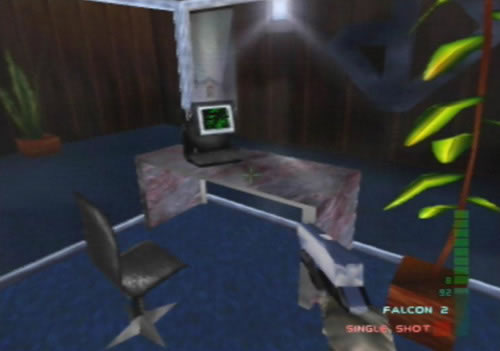 Get your bearings by exploring this small office - the door ahead leads back to the elevator. |
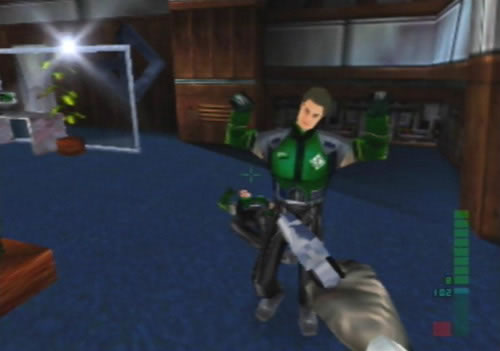 Some guards drop their guns at your feet, but you won't see this often. |
 Go through here to find the isotope beyond these guards. |
 Stay out of this room - radioactive levels are too high. |
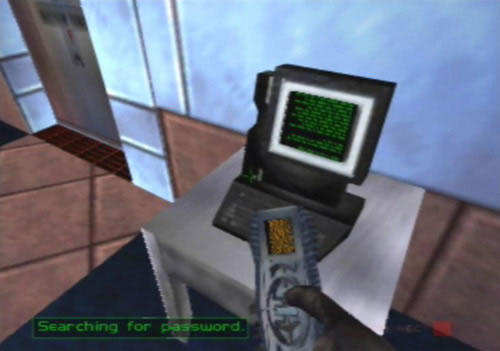
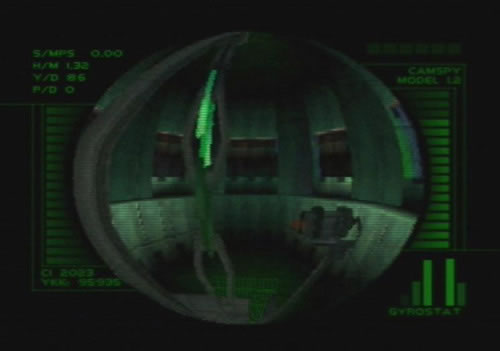 Use the CamSpy to grab a happy snap of the isotope. |
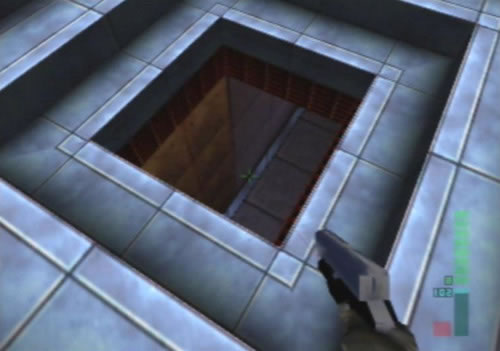 This hatch leads down to a firing range, but you'll soon find out it's the wrong way down. |
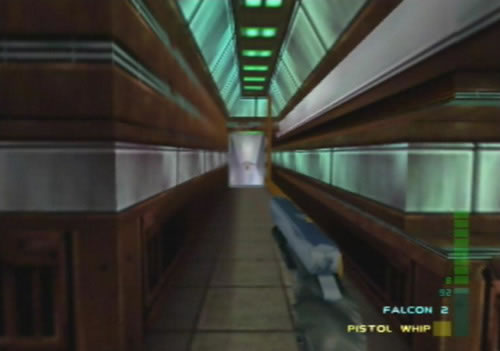
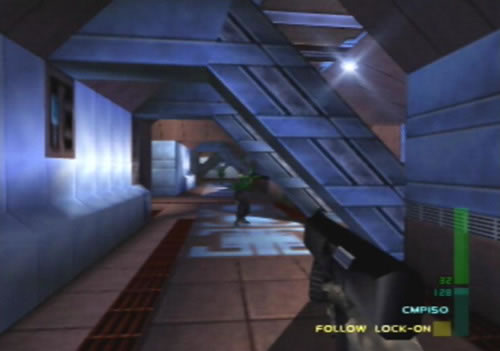 Take cover throughout this main corridor. |
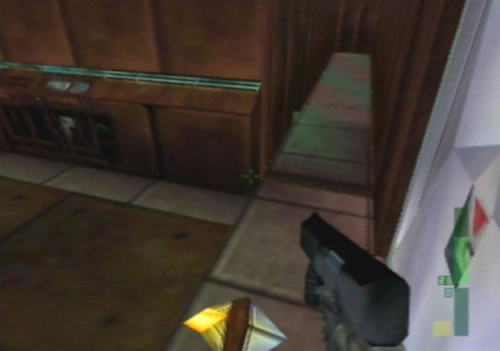
 Use these side-doors to reach the research labs. |
 Clear out the guards in each lab. |
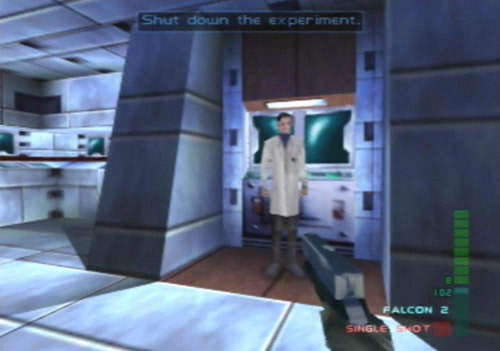 Find the scientists and force them to shut down the experiments. |
Agent
1. Holograph radioactive isotope
Once you start, head left down the corridor and blast the guard patrolling the area. Head right and go through the door at the end of the hallway. More guards will appear, just blast any that get in your way. Head into the next large room with the trapdoor in the middle on the floor. Blast the two guards here, and grab the shield lying on top of one of the crates. Head through the large door on the right, then go through the next one you find and blast the two guards in there. Once they're gone, activate the CamSpy, and take it up to the next door. Open the door and head into the isotope room. Hover up to the isotope and press Z to take a photo of it. If you want, you can bring the CamSpy back to you but you can also leave it there if you want.
2. Locate Dr. Caroll
Go back to the large room and head through the large door on your right. Head through the next large door and you'll be in the long hallway that leads to the experiment rooms. Go to the far end of the corridor and blast any guards that appear. Once at the end, head through the door on the right and you'll eventually reach the long corridor with the laser defense systems. Get up close to the first beams and wait for the small cleaning bot to come. Once it starts heading down the corridor, the beams will shut off as it passes, use this chance to get through them.
Once at the end of the corridor, head into the next large room and blast the two guards there. Head through the next door and enter the room with the two Dragon-wielding guards. Blast them both and grab a Dragon. Open the door you came in through and take out the Dragon. Throw it into the room so it hits the other door and stays put. Take out the Data Uplink and start hacking into the terminal by the door. As the Uplink begins working, you'll hear the Dragon explode, two guards have spawned in the room, only to be blown up by the Dragon! Once the door unlocks, head through and take out a CMP150 or a Dragon.
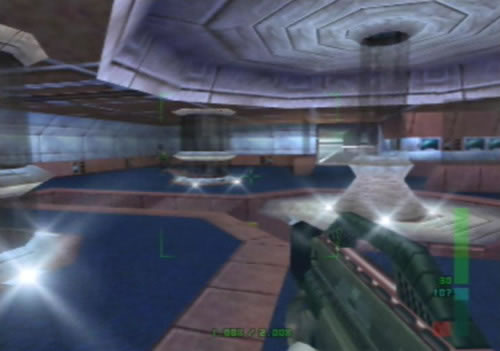
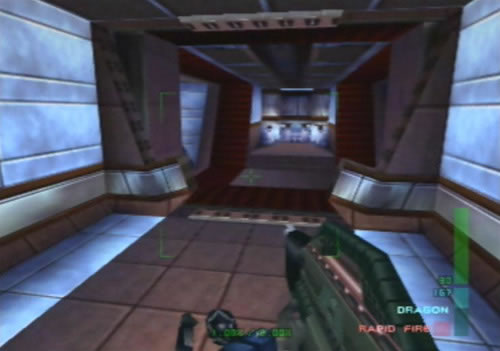
Head through the large door and you'll be in a huge room with three armed guards. Blast all three and head down to the door at the far end of the room. Beyond the door is the final corridor before you find Dr Caroll, but two sentry guns are waiting. If you want to destroy them, open the door and stand back before firing, otherwise you can just make a run for it and your shield should hold out. Open the door at the end of the corridor to finish the mission.
Special Agent
1. Holograph radioactive isotope
Head over to the isotope room and take the photo, shoot any guards you see on the way there. Once you've completed objective 1, head back into the large room with the trapdoor, here you can head through the small door in the corner to reach the maintenance bot, but there's another easier way to get down there.
2. Start security maintenance cycle
Go back into the small room with the desk and terminal, then head back into the long corridor that leads to the elevator. Wait at the door and a yellow cleaning bot will eventually come up to you and open a secret panel in the wall next to the door. Head in and follow the path down and head down to the glass panel blocking a hole in the corner of the large room. Destroy the panel and jump down. Turn around and you'll see a large computer terminal behind a motionless cleaning bot. Activate the terminal, then go down the corridor to the left and activate the second terminal to complete objective 2. Head around the next corner and blast the two guards there, then head through the door and back up to the secret panel to leave the area.
3. Shut down experiments
Once you're back in the trapdoor room, head through the large door that leads to the long corridor filled with guards. Blast any guards that appear, then once you're in the corridor, head into the first corridor on the right. Go through the door at the end of the corridor, blast the two guards in the room and walk up to the scientist to order him to shut down his experiment. Once he shuts it down, leave the room and head back to the hallway. Go through the next door on the left, then walk around to the moving elevator in the room. You'll move down into a smaller room with a scientist and a Shock Trooper using a K7 Avenger.
Knock him down to get it. Head back up to the hallway, then enter the next door on the right. Shoot out the glass enclosure in the room to pick up the Night Vision. Leave the room and go to the end of the hallway, then head left, blasting any guards here. Enter the next room, then shoot the two guards and get the scientist to shut off the experiment.
Once that's done, head through the large door behind the scientist and switch to unarm. Walk up to the scientist and wait for him to walk to a terminal. Before he sets off the alarm, knock him out and try the other three terminals until you find the right one, then objective 3 will be complete.
4. Locate Dr. Caroll
Head back to the hallway and head over to the laser defense room, but make sure that you blast any guards waiting there. Wait for the maintenance bot to appear, then follow it through the lasers. Head into the next large room and shoot out the glass enclosure in the corner to find a shield. Head into the Data Uplink room, get a Dragon from a guard and plant it in the small room behind you to blast the two guards that appear. Use the Uplink to unlock the door, then head through to the large room with three guards. Blast them and head over to the door leading to the final corridor. Open the door and make a run for it, if you want you can shoot out the gun turrets, but your shield should hold out. Open the door at the end of the corridor to beat the mission.
Perfect Agent
1. Holograph radioactive isotope
2. Start security maintenance cycle
Head out of the elevator and make your way down the corridor to the hidden door. Knock the guard down, then wait for the droid to come over and open the panel. Head through once it's open and go down to the glass window. Shoot it and head down below. Activate the two consoles to set the maintenance bot in motion (for objective 2). Be careful of the two guards lurking here, using the CMP150's lock on function will greatly help you here, but don't waste ammo, you'll need all the ammo you can find.
Head back up to the hidden door, wait for the droid to open it and head through into the small office. Blast the guards here, back into the corridor for cover. Head into the next large room, make sure no guards are left, if any see you and run off, you'll be certain to have them sneaking up behind you later on - it only takes one guard to ruin your day. Head over to the radioactive isotope, blast the two guards before they can retaliate, then take a snapshot of the isotope with the CamSpy for objective 1.
3. Shut down experiments
Take out the CMP150 and head back into the large room. Open the next door and quickly blast the guard behind it. Open the next door and get ready for the cavalry. Stay in the large room and get all the guard's attention so they run over to you. Blast them each as they come at you. Once they stop coming, head into the large corridor, then down the first hallway on the right. Head into the room at the end of the hallway, shoot the two guards and get the scientist to shut down the experiment.
Head back out into the corridor, then into the next lab room. Jump down the elevator behind the terminals, then blast the Shock Trooper below and grab his K7 Avenger, you'll need it for objective 4. Head back up and into the next lab on the right. Shoot out the window and grab the Night Vision in there. Now go to the end of the long corridor and blast the two guards on the left.
Head through the door there, blast the next two guards in the lab room and get the scientist to shut off the experiment. Head through the large door in the corner, walk up to the scientist and wait until he goes over to a terminal. Knock him out before he activates the alarm, then try each of the other terminals until you shut down the experiment and complete objective 3.
4. Obtain experimental technologies
Head out into the corridor and go through the door over in the other corner. Several guards will appear in the next room, stay at the door for cover and blast each one as they appear. Head through the two large doors and you'll be in the laser-defense corridor. Wait in front of the first beams for the maintenance bot, then follow it through the beams to get through. Head into the next room, blast the guard, then head into the larger lounge-type room. Blast the two guards and grab the two CMP150's on the table in the center.
Head over to the Data Uplink room, but make sure you don't get hit by the two Dragon-wielding Shock Troopers. Grab one of the Dragons and plant it in the small room behind you to blast the two spawning guards. Start accessing the terminal by the door with the Uplink and you'll hear the Dragon explode.
Once the door's unlocked, head through and switch to the CMP150. Head over to the next large room and quickly blast the three Shock Troopers in there. Go over to the smaller door on the side wall and head through. Go down the (highly detailed) corridor and blast any troopers that appear. Head right to the end of the hallway and open up the small lab at the end. You'll see a small shield-type object on the table, pick it up to complete objective 4.
5. Locate Dr. Caroll
Head back into the large room, don't worry, you'll only have three gun turrets to deal with now. Head over to the large door and get ready to run. If you have enough health, you could try to just make a run for it, a third gun turret will be hiding up on one of the beams and will fire at you from behind, strafe around to dodge it as you fly for the door. You could also try to destroy the two visible turrets from the door, open the door and activate the CamSpy so that it stops the door from closing. Aim at the turrets from far-off to destroy them, then you should easily make it through. This mission is a tough one, you'll need all the skill to master it, try not to get hit too often - bullets really sting.
 Sneak into the firing range the back way and give the gunman a fright. |
 Grab the Night Vision concealed in this lab - you'll need it later. |
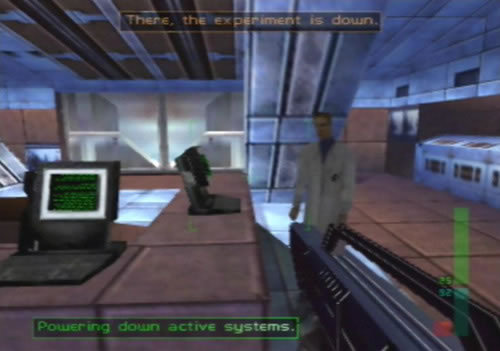 Get this scientist to shut down his terminal, he won't object. |
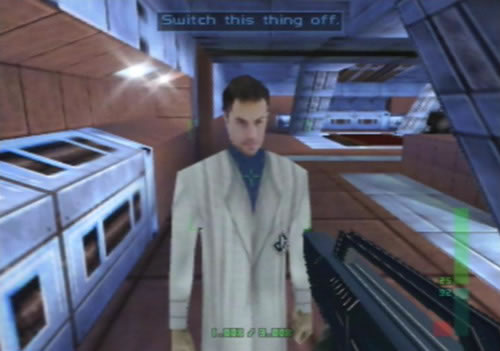 This guy won't co-operate, knock him out before he trips the alarm. |
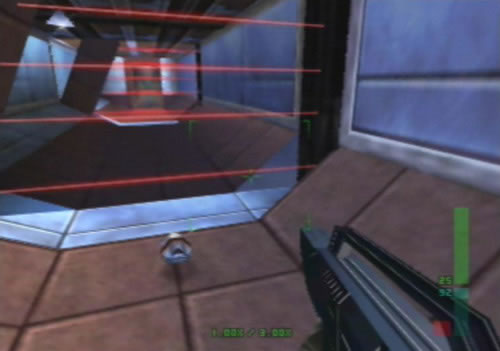 Follow the hovbot through the laser fields, this little droid's the key. |
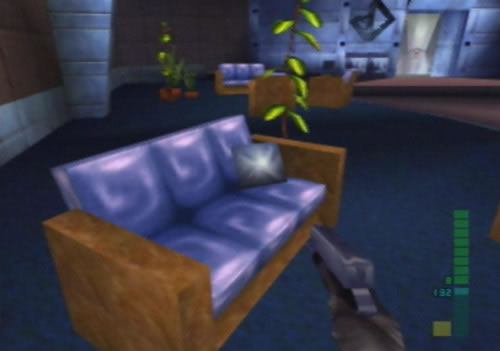 Take a look around the lounge, but don't stop for too long. |
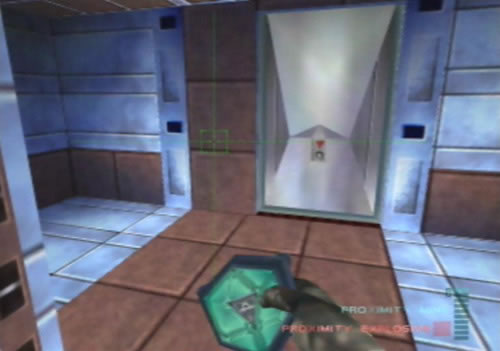 Planet the Proxy Mine on this wall to surprise some spawning guards. |
 Hack the terminal only when all experiments have been shut down. |
 Watch out for Dragon-weilding troopers in here. |
 Go through this corridor to find the final experimental item. |
 Be wary of gun turrets in the last corridor, take them out from afar. |
 Discover Dr. Caroll's robotic identity. |
Next Mision: dataDyne Central - Extraction
dataDyne Central - Defection
dataDyne Research - Investigation | dataDyne Central - Extraction
Carrington Villa - Hostage One | Chicago - Stealth | G5 Building - Reconnaissance
Area 51 - Infiltration | Area 51 - Rescue | Area 51 - Escape | Air Base - Espionage
Air Force One - Antiterrorism | Crash Site - Confrontation | Pelagic II - Exploration
Deep Sea - Nullify Threat | Carrington Institute - Defense | Attack Ship - Covert Assault
Skedar Ruins - Battle Shrine | Mr Blonde's Revenge | Maian SOS | WAR! | The Duel