


Crash Site - Confrontation
 The Hover Bike's waiting just over there if you lowered it down on AFO. |
 Use the Hover Bike to seriously cut down travel time. |
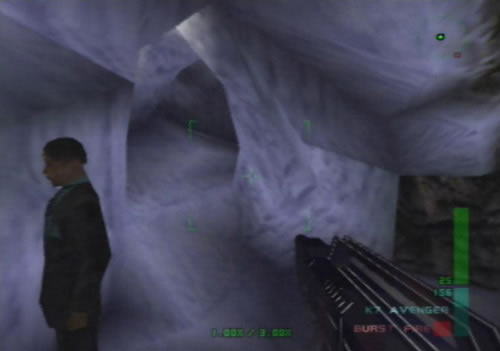
 Snipe the two guards here and grab their K7 Avengers. |
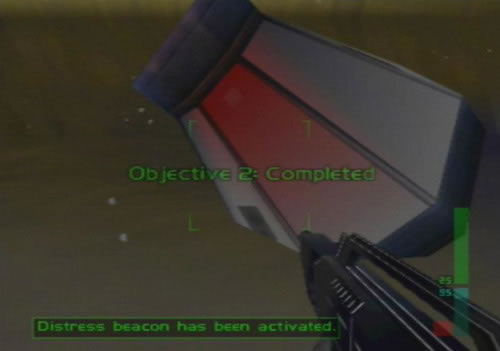 Activate the red button on the escape pod to send out the distress call. |
 Watch out for a Mr. Blonde sniper and two guards coming towards you. |
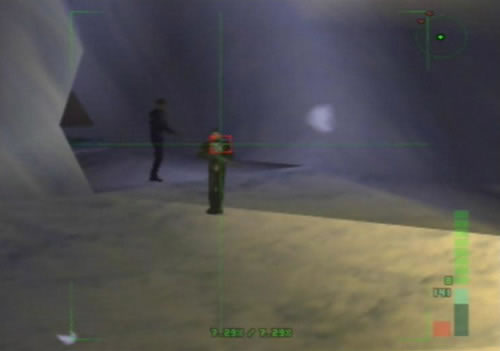
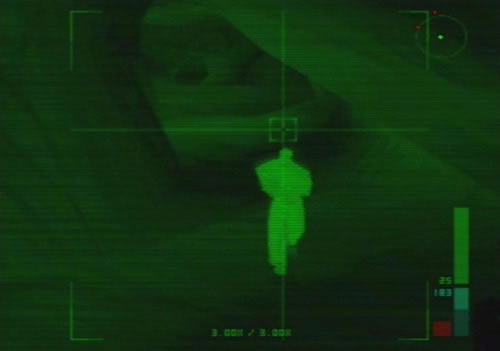
 Go over to AFO's remains and snipe this Blonde guard. |
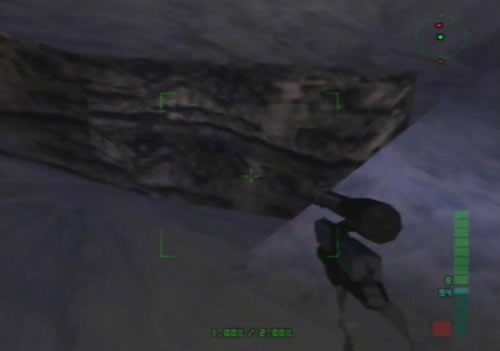
 There's not much left of the plane, you'll find remains scattered around. |
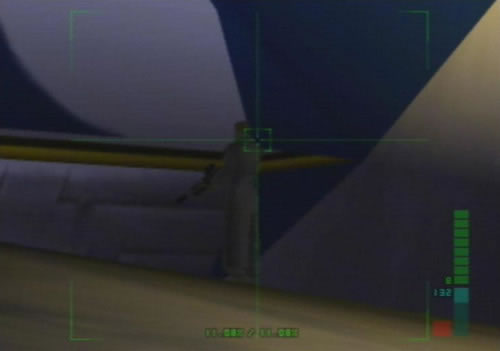
 Grab this suitcase to retrieve the Presidential medical scanner. |
 Switch it on and you'll see two red dots on the radar. |
 Watch out for enemies coming from this opening before going in. |
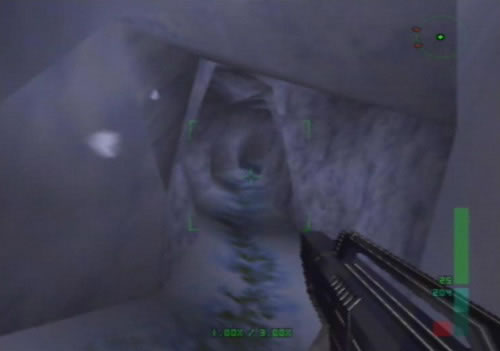
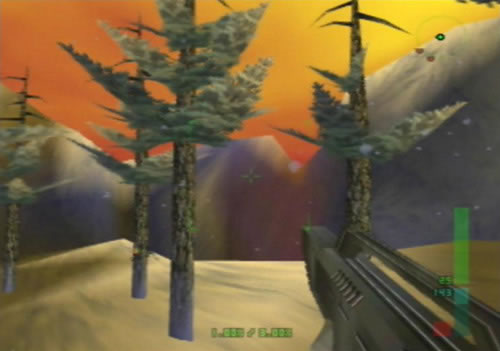
 Travel down this small canyon where the piano lies. |
 Use the Sniper Rifle to pick off guards in the next large area. |
 Sneak down into the valley once the disappear. |
 If the guards see you use the wheel for cover. |
 Down there you'll find a darkened cave full of Mr. Blondes. |
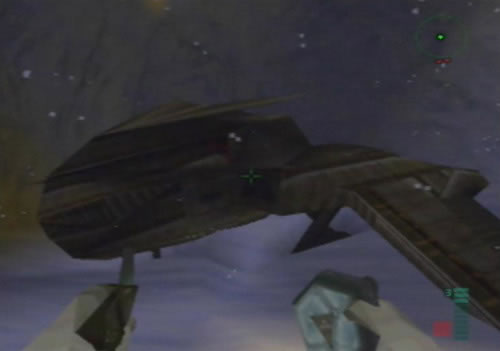
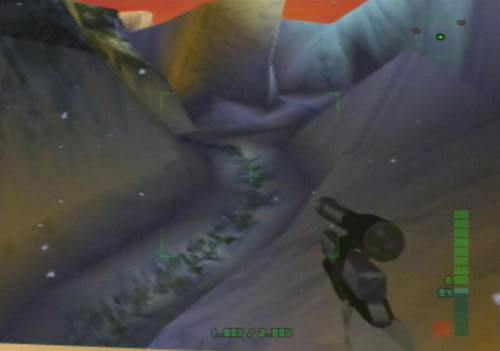
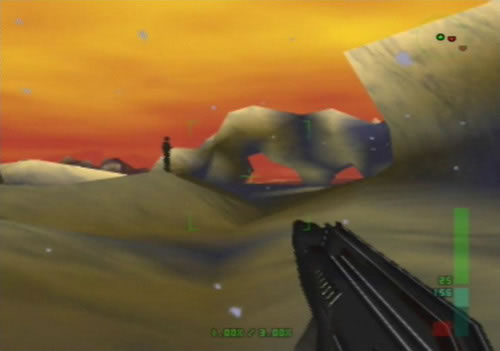
 Cross this canyon to reach the Skedar shuttle. |
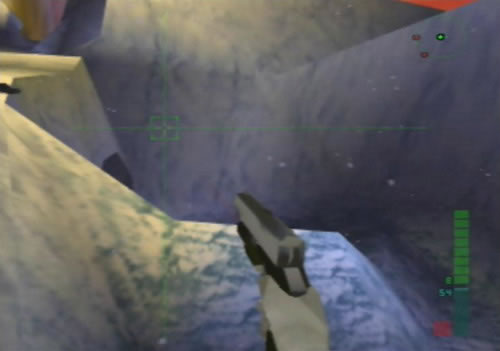
 Watch out for guards patrolling this tunnel. |
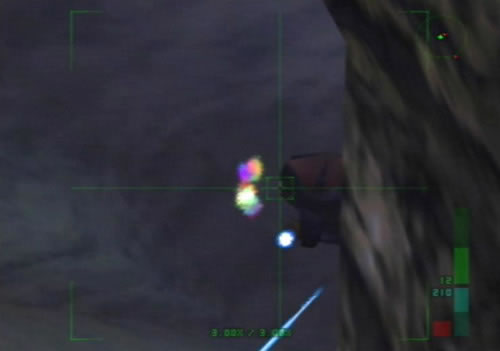
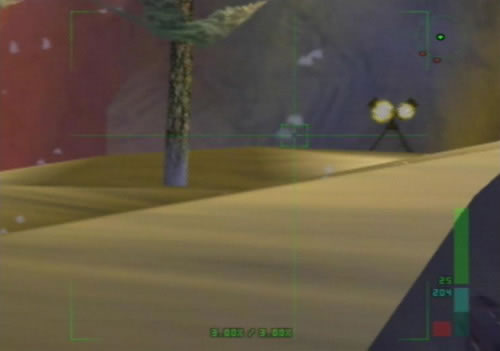 There's two Goldeneye-esque turrets guarding the ship. |
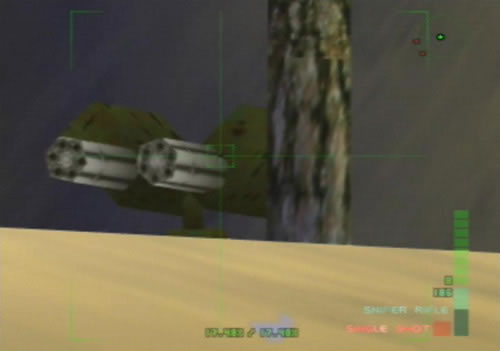 Destroy them both using the cave entrance for cover. |
Agent
1. Activate distress beacon
Once you begin, head forward over to the opening in the canyon, then you should emerge out to a large open area. You should spot two guards far-off with their backs to you, and the downed escape capsule out in the clearing. Sneak up behind both guards and knock them out, then head over to the capsule. Once you reach it, walk up to the side of it and press B to activate the distress beacon and to complete objective 1.
2. Retire Presidential clone
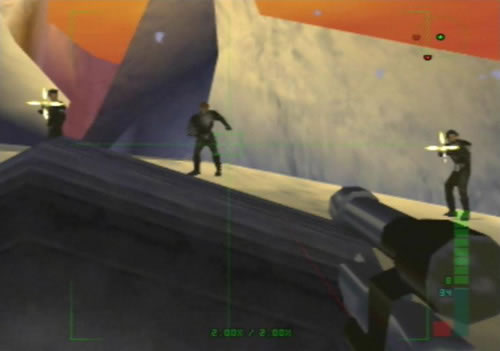
You'll now have to track down the President clone and dispose of it. If you activate the PresidentScan from your inventory, you'll notice that two dots will appear on the radar. The clone will be easy to recognize, it doesn't have a jacket on like the real President. Once the beacon is active, turn around and head back to the canyon entrance to the clearing, but go down the opening to the right of it. You should spot two NSA guards and a Mr Blonde coming towards you from here, quickly blast them before they can fire. Keep going and you should find an opening in the far corner of the area. Head through the opening and along the path you should see the grand piano that was aboard AFO. Keep going and you'll emerge to another clearing with a few guards patrolling around.
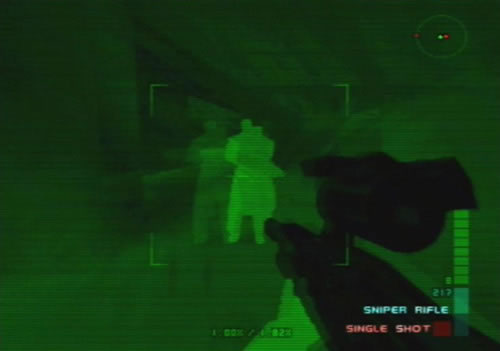
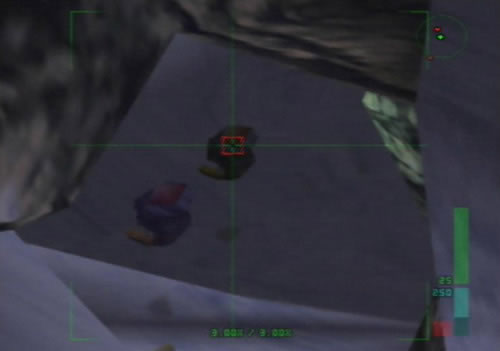
Use a Sniper Rifle (the Mr Blonde's drop them) to pop the guards or just take them down with the K7 Avenger. There should be three openings along the canyon wall opposite the wrecked wheel from AFO on the ground. The far left one leads down to where Trent and the President are, and the right one leads to the Skedar ship. Head down the center pathway, keep going and you'll see a clearing beyond an overhang. Four guards will be positioned around a large hole in the ground, blast one to attract their attention, then finish off each one as they appear. Head over to the hole and look down. You should spot the clone directly below surrounded by Mr Blonde guards. Take out a Remote Mine, throw it down the hole then blow it to blast the clone as well as the guards around it to complete objective 2.
3. Locate and rescue President
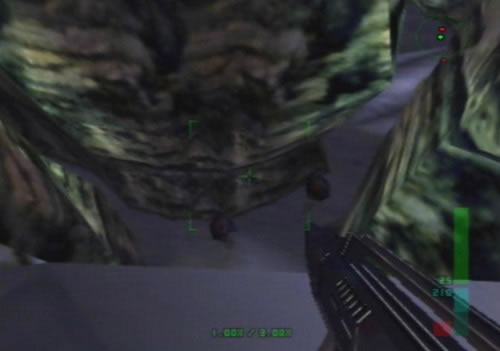
Some guards from below might run around to try and find you so you'll have to stay alert. Head back out onto the pathway, once you pass the overhang, go up the snowy ramp on the right, you should easily be able to climb it. Once at the top you'll notice an opening leading into a cave ahead. Go in, then head down the passage on the right. Go down to the overlooking hole which you can see the larger cavern where the President is, but stop once you see the two Guard Bots. Using the K7 Avenger, fire at them until each one blows. Head back up to the other passage, but be careful as some guards might appear here. You should see another outlook on the right, look down and the other two Guard Bots below will begin to move and come after you.
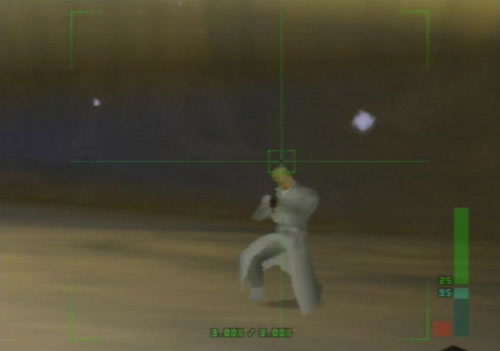
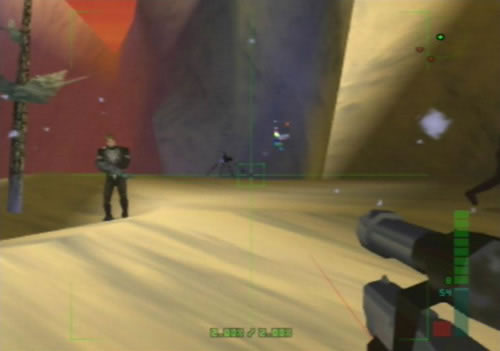
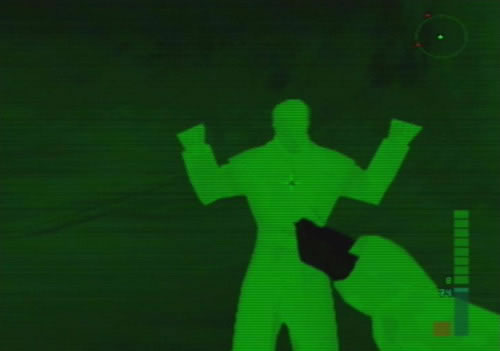
Head around the darker cavern walls, until you reach the entrance to the President's area. Wait there for the Guard Bots, then blow each one as they appear. Once they're gone, switch to Unarmed and rush out over to the President. Trent will take out his DY357-LX and try to shoot the President, disarm him quickly before he can. Trent will then run off and the President will follow you. Take out the K7 Avenger and head back up the pathway you came down. If any guards appear make sure you blast them. Go up the pathway and then down the first opening on the right. Head through the passageway then you should come out to another huge open area.
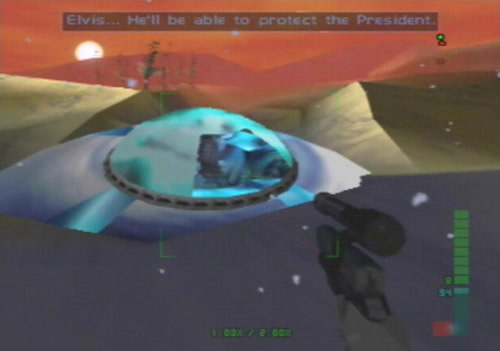
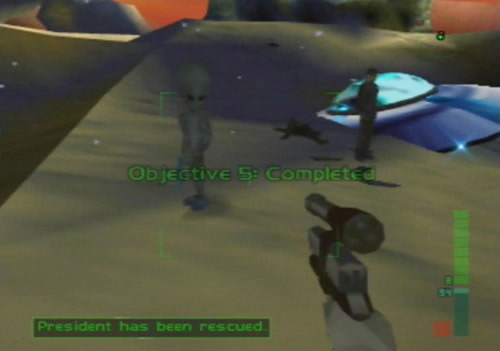
Several dataDyne guards will appear here so make sure you knock them down before they can fire at the President. Head over to the large overhanging rocks ahead, then keep going over to Elvis and his crashed Maian Saucer. Once you reach him, wait for the President to follow you, once he reaches the saucer the mission will be complete.
Special Agent
2. Activate distress beacon
The escape capsule will be closer than the medical scanner, so we'll go and activate it first. Once you begin, head over to the canyon entrance ahead, then out into the opening where the capsule is. Creep up behind the first guard on the left, knock him out (unless he spots you), then go and knock down the second on the right. Go up to the capsule and press B to activate the distress beacon and complete objective 2.
1. Retrieve Presidential medical scanner
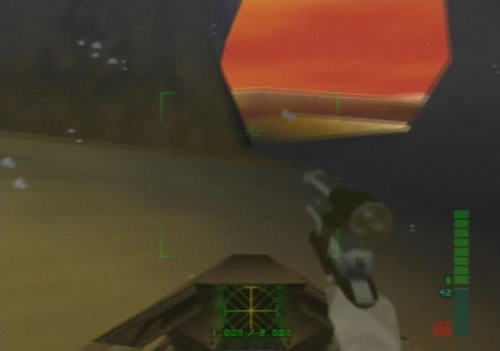
Head over to the canyon beyond the second guard's body, then head through and into the huge area where most of Air Force One has crashed. Go over to the right side of the plane, you should just see a Mr Blonde guard within the darker area, pop him or sneak up and knock him down to grab his Sniper Rifle. Go around to the lighter side of the plane, near the cockpit you should see a suitcase on the ground (you can see it in the opening cutscene). Grab it to find the medical scanner and to complete objective 1.
3. Retire Presidential clone
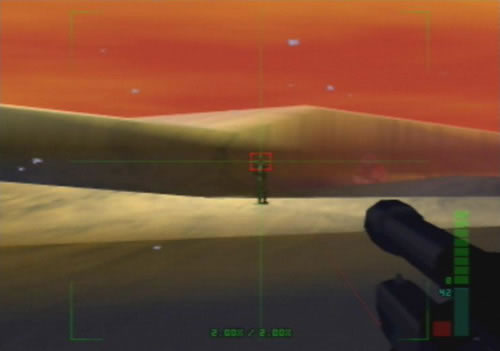
Head away from the plane over to the cliff edge and knock down the guard standing by the edge. Turn left and you should see another canyon opening leading back to the capsule area. Take out the Sniper Rifle and head through. Once there, go up to a high point on the ground, crouch down (secondary fire of the Sniper Rifle), and zoom in straight ahead on the canyon opening near the opening where the grand piano is. You'll spot two NSA guards and a Mr Blonde walking towards you, quickly pop them off, if any come running at you, just try to mow them down with the Sniper Rifle.
Once all three are down, take out the K7 Avenger and head over to the entrance on the far corner. Go down the path, past the piano and over to the next open area with the stacked wheel from AFO. Snipe out the guards patrolling, just make sure you blast them all so none come after you. If they charge, go back down the pathway and mow them down. Head down the center path on the wall behind the wheel and take out the Remote Mine.
Once you reach the overhang where the hole is leading down to the clone, plant a mine on the ground below the overhang, then grab the attention of the four guards posted around the hole. Back up, then once a few run near the mine, blow it to knock them down. If any remain finish them off with the K7 Avenger. Go up to the hole, look down and throw a mine down near the clone, then detonate it to blow the clone and the guards around it to complete objective 3.
4. Locate and rescue President
If any more Mr Blonde's run over to the clone's remains, pop them off with the K7 then head out of the clearing. Go up the ramp on the right then through into the cave opening. Go down the right path to the opening where you can see the two guard bots below, blow them both with the K7 Avenger, then head back up around the path. Look down the next opening to get the guards bots' attention below, then head around down to the opening and wait for them to appear. Once they come around the corner, blow them both, then switch to Unarmed - disarm, then rush out and quickly disarm Trent by the President before he can fire.
Once Trent runs off and the President begins following you, take out the K7 and head back up the path, then go down the first opening on the right wall - remember to blast any guards or Mr Blondes if they appear. Head through the tunnel out to the next huge open area, then rush over to Elvis and his Maian Saucer straight ahead beyond the large rocky overhangs. Help him blast the guards that appear (notice all the K7's lying around? Elvis has been busy), then once the President arrives you'll have completed the mission.
Perfect Agent
2. Activate distress beacon
This time you'll need to locate and destroy the Skedar ship so that you can make contact with the CI. Once you begin, switch to Disarm and head forward over to the large opening where the escape capsule is. Once there, quickly rush over to the first guard on the left and knock him out, then run over to the second on the right. He might turn around and see you, just quickly disarm him and keep punching him until he falls over. Once they're both down, walk over to the downed escape capsule and press B while up against it to send the distress signal to complete objective 2.
1. Retrieve Presidential medical scanner
Take out the K7 Avenger, then head over to the opening beyond where the second guard was standing. You'll now be in the area where AFO crashed. Go around to the right of the plane, then while standing on the large snowy hillside, crouch right down and zoom in on the Mr Blonde guard standing alongside the plane ahead. Pop him, then quickly run over and grab the Sniper Rifle he dropped. Head around to the other side of the plane to find the suitcase containing the medical scanner on the ground near the cockpit. Pick it up to complete objective 1.
3. Shut down enemy jamming device
You'll now have to go and find the Skedar ship and destroy it. Ignore the guard standing down on the edge of the cliff ahead, instead, take out the Sniper Rifle and head over to the opening in the corner of the area leading back to the escape capsule. Once there, walk up to a high position on the ground and crouch down (secondary fire). Zoom right in on the opening straight ahead (the one leading to the path with the piano) and wait for two guards and a Mr Blonde to appear from there. Pop one in the head, once you do the other two will begin running towards you, quickly mow them down, then head over to the opening they just came through.
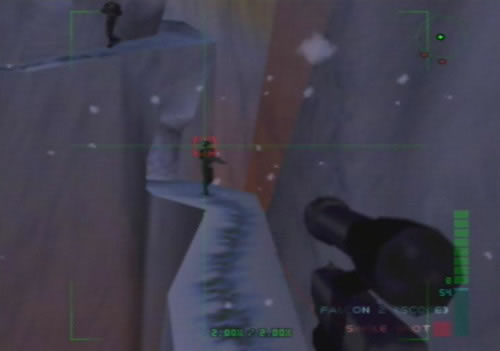
Grab their ammo and head down the path. Once you reach the large opening with the wheel on the ground, zoom in one of the two patrolling guards. Try to hit one while they're standing near the middle opening on the wall behind the wheel, once you pop one guard the other one will charge at you. Quickly mow him down, then hopefully two more guards will come out from one of the openings ahead. Blast them then head over to the opening on the far right of the wall. Below on a thin rocky bridge another guard will be patrolling, quickly pop him, then check to see if another guard has spotted you from up on the ledge ahead. If he has, quickly head forward across the bridge into the tunnel, take out the K7 Avenger, then head through the tunnel and quickly mow down the guard patrolling in there. Turn around and wait for the guard to come up behind then blast him.
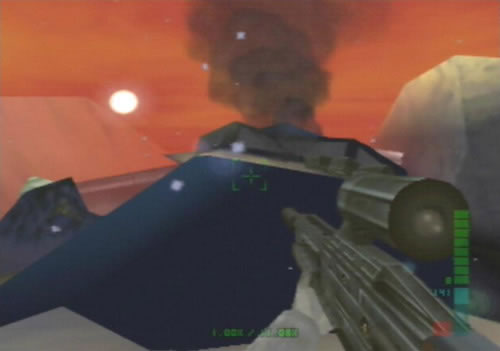
Keep going to the end of the tunnel, once you reach the end, you'll find the large outdoor area where the Skedar ship is. Stay just inside the opening, then edge around the right side and zoom in on the trees ahead. You should spot a gun turret that looks surprisingly similar to the ones used in Goldeneye, quickly blast it to destroy it, if it fires hide in the tunnel, Lean out of the right side and look over to the right to find the second turret. It'll spot you and turn to fire, quickly hide and wait for it to stop, then lean out and fire away to destroy it. Once both turrets are gone, head out and go over to the Skedar ship, but quickly dash back into the tunnel when the two guards there spot you. Wait for them to appear at the tunnel opening, then pop them both.
Take out the Remote Mine and head over to the Skedar ship. Plant two mines on the ship, one on each side of the cockpit, keep the third one for later. Head back to the tunnel, then detonate the mines to destroy the ship to complete objective 3.
4. Retire Presidential clone
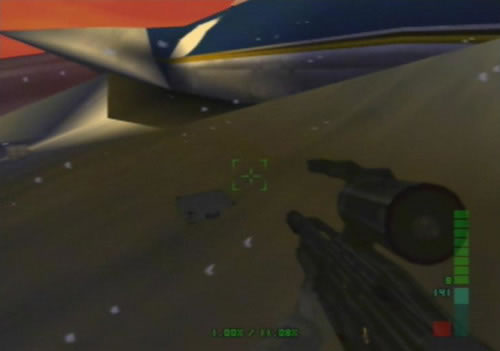
Now it's time to eliminate the cloned President. Head back through the tunnel and over to the opening with the wrecked wheel, then head down the pathway on the first opening on the right wall. Keep going down the path until you can see a guard straight ahead in the clearing with the hole in the center. Take out the Sniper Rifle, crouch down and pop the guard in the head. Once he's down the other three will come out, use your third mine to blow them all or pop each one with the K7 as they appear.
With all four down, head over to the hole in the center of the clearing. Look down to see the clone below. Zoom in and pop him with the K7 to complete objective 4, then wait for the Mr Blonde's to walk over to the clone, pop them as well, if any run off to find you, you'll have to deal with them later.
5. Locate and rescue President
Leave the clearing and head up the snowy ramp on the right of the overhang. Go through into the cave there and head down the right path along the rocky wall. Once you can see two of the guard bots below in the President's cavern, crouch down and fire at the one on the left. If you're lucky, it'll explode and take out the other guard bot with it, if it doesn't just finish off the second one. Head back up the path, then look through the second opening on the left wall out into the opening with the wrecked wheel. If any Mr Blonde's came after you, they'll come through here. Wait to see if any are coming, blast them if they are, otherwise look down the second opening to the President's cavern below to grab the guard bot's attention below.
They'll begin moving over to the path leading up to you, quickly head down to the opening of the cavern, but wait there for the bots to appear. Once they come around the corner rip into them. Once both are destroyed, switch to Disarm and rush into the cavern. Run up to Trent and disarm him, then wait for him to run off. The President will begin following you, take out Trent's magnum and head back up the path you came down. If any Mr Blonde's are there, blast them with one shot of the magnum to knock them down, then head through the opening on the right wall. Go through the tunnel and go out to the huge open area where Elvis is waiting.
Wait for the President to catch up with you, then head over past the rocky overhangs to find Elvis and his downed saucer. Help him mow down the guards that appear, then once the President arrives the mission will be complete.
 Two more guards hide out just beyond the ridge. |
 Lay Remote Mines all over the ship and stand back before detonating. |
 Now head back to the large valley where the plane's wheel was. |
 Head down this entrance to find another canyon beyond. |
 Go over to that opening and lure the four guards out. |
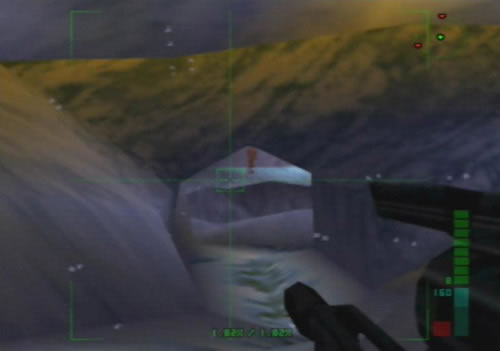
 Look down this hole to snipe the President's clone from above. |
 Or you can go in the hard way and clear out the Blonde guards. |
 They can still see you in the dark somehow. |
 Hard to see these guys giving up, but they do surrender. |
 If the clone escapes he'll run over to the Skedar shuttle's clearing. |
 Go back up to the top of the canyon leading to the overlooking hole. |
 Go up through the cave entrance at the top to find a rocky area. |
 Zoom down into the cave from up here to snipe these guardbots. |
 Lure these guardbots up the winding passage. |
 Blast them as they come around the corner. |
 Run down and quickly disarm Trent before he shoots at you. |
 Lead the President up to this opening in the passage wall. |
 Go through to reach a massive open environment. |
 Way beyond the rocky overhang you'll find Elvis and his saucer. |
 Once the President catches up and reaches the saucer you'll be clear. |
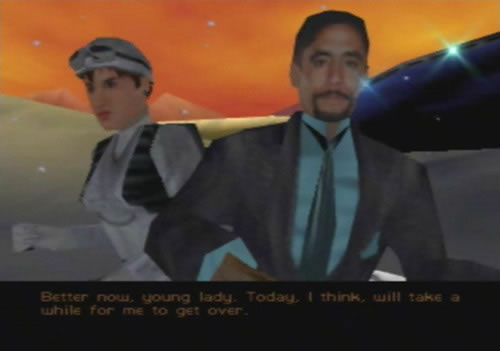 Joanna consoles the President as he calms down. |
Next Mission: Pelagic II - Exploration
dataDyne Central - Defection
dataDyne Research - Investigation | dataDyne Central - Extraction
Carrington Villa - Hostage One | Chicago - Stealth | G5 Building - Reconnaissance
Area 51 - Infiltration | Area 51 - Rescue | Area 51 - Escape | Air Base - Espionage
Air Force One - Antiterrorism | Crash Site - Confrontation | Pelagic II - Exploration
Deep Sea - Nullify Threat | Carrington Institute - Defense | Attack Ship - Covert Assault
Skedar Ruins - Battle Shrine | Mr Blonde's Revenge | Maian SOS | WAR! | The Duel