


Carrington Institute - Defense
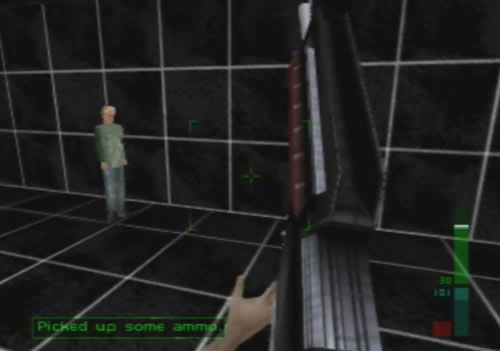
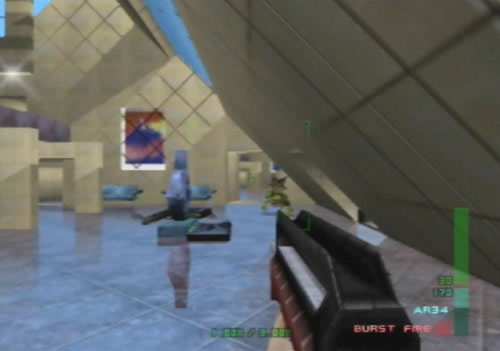 Zip around the corner and attack the huge Skedar warrior. |
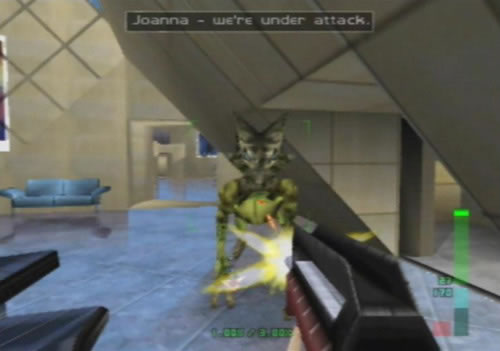 Shred the monster and grab the Mauler it drops. |
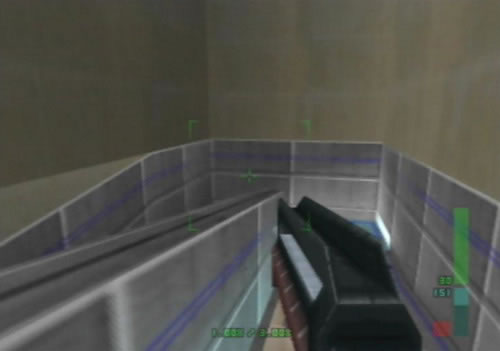 Dash down the ramps to reach the corridors where the gun turrets await. |
 You'll have some backup in the form of scattered CI soldiers around here. |
 Activate this terminal to switch on the first gun turret. |
 Keep an eye out for dataDyne soldiers equipped with shields. |
 Activate the second gun turret here. |
 Run down this corridor to find the third and final turret. |
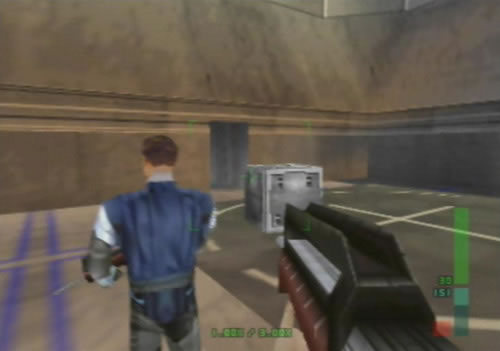
 Go through here to find the room with the terminal. |
 Activate the terminal before heading back upstairs. |
 There's hostages to save, so don't mess up. |
 Get back up to the office level and go over to the Holo training room. |
 Go inside to save your first hostage. |
 Zip around the wall partition and fry the three guards inside. |
 The real hostage is over here, make sure she isn't hit. |
 Ride up an elevator and take out the Combat Boosts. |
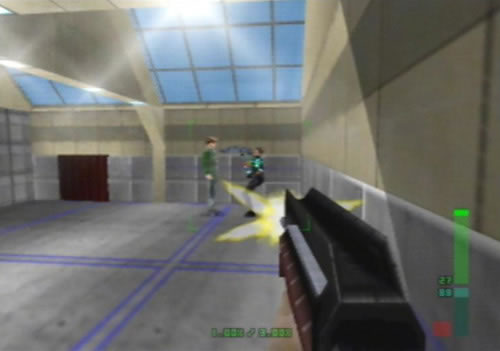
 Use a boost and whip out the AR34 as you enter the room. |
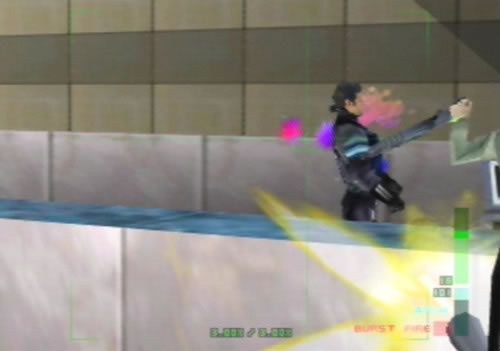 Pump a few shots at the dD troops before they shoot the hostages. |
 Time to save Grimshaw, use another boost if the first one runs out. |
Agent
1. Release hostages
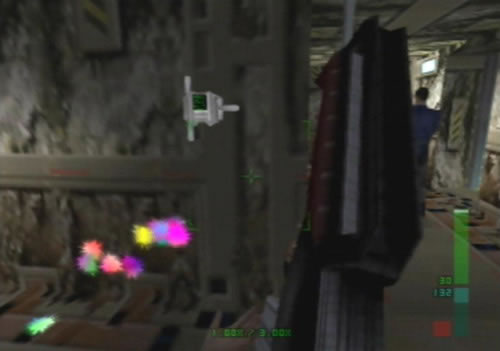
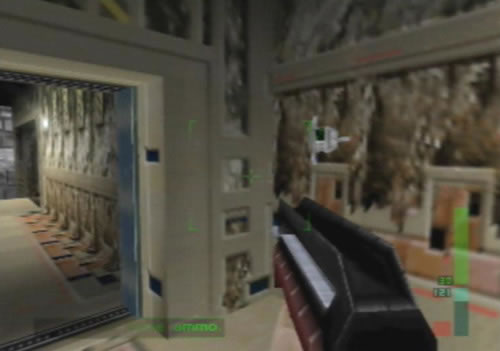
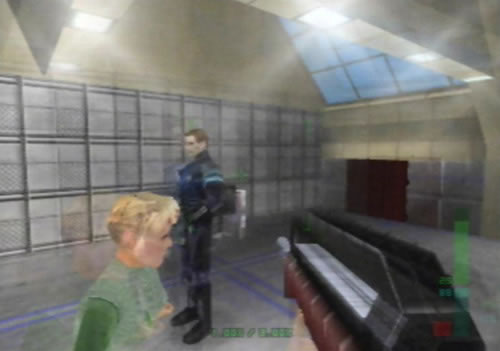
Once you begin the mission, you'll be at the top of the ramp leading down to the Institute's hangar. Whip around the corner and blast the Skedar at the main entrance, he might have his back to you, firing at another CI Soldier, just blast him and grab the Mauler he drops. You'll now have to release the hostages in the VR training room, the Device Training room, 'Hacker Central' and the firing range. Head over to the door leading into the VR Training room, head in and go around the right side of the wall-partition. Guards will be lined up against the wall and will fire at the fake hologram hostages, quickly blast them all in a line before they can hit the real hostage. If they stop and fire at you, hide behind the wall while reloading.
Once they're gone the hostage will thank you and run off. Head out and over to the elevator on the left. Go up to the second level, then take out a Combat Boost. Go over to the Device Training room's door, activate a boost and take out the AR34. Open the door and blast the guard directly in front of you, then sidestep and shoot the other guard by the computer terminal in the corner, you should easily be able to hit them before they fire. Once they're down, head out and go around to Grimshaw's room.
Open the door, shoot the guard straight ahead standing next to Grimshaw, then sidestep over to the front of the other guard. Before he moves, the female lab technician will run off past you, once she's out of your line of fire shoot the guard. If all the hostages survived, Grimshaw will drop a Devastator before leaving. Head back down to the ground floor and over to the firing range. Rush in and quickly blast the two guards inside, they might knock out Foster and the other lab technician, but if they're either knocked out or escape, you'll still now have completed objective 1.
2. Retrieve experimental weapon
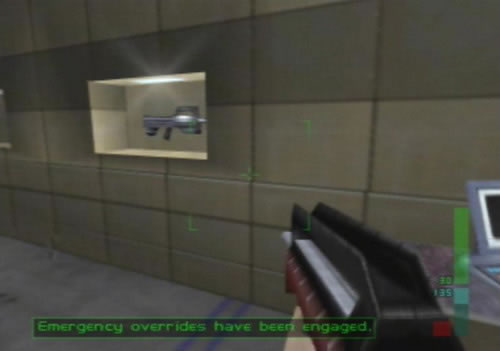
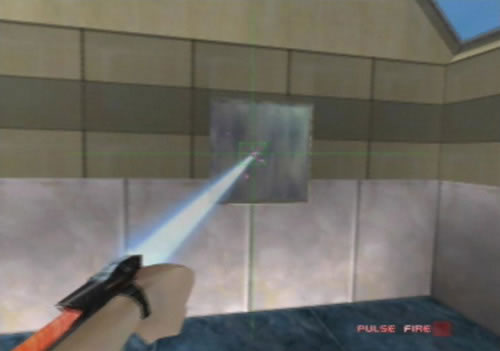
Don't worry if the two hostages are unconscious, walk over to the terminal in the corner of the room and activate it. You'll hear glass breaking and the RC-P120 on the wall will now be exposed, grab it to complete objective 2.
3. Deactivate bomb
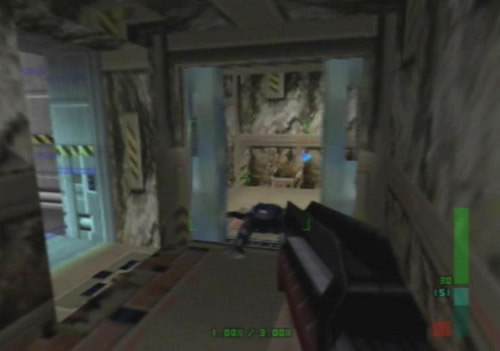
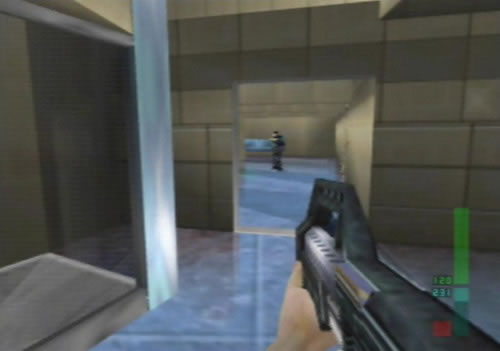
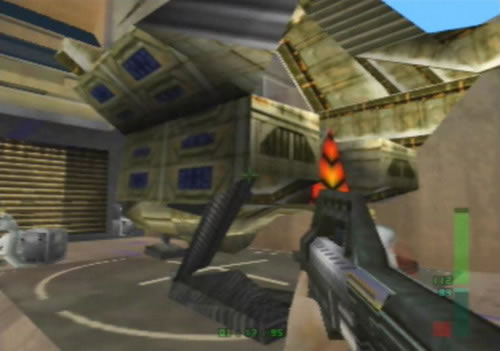
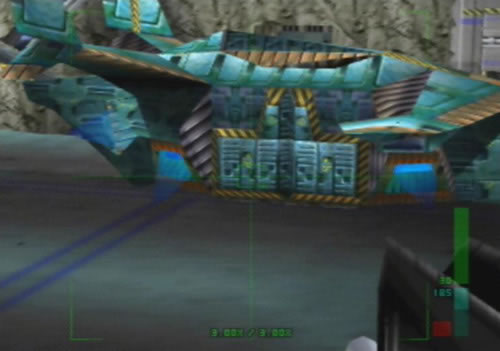
You'll now have about 2 minutes to dispose of the Skedar bomb before it blows the entire Institute. Head back out into the main room and over to the ramp leading down to the hangars. Several shielded guards and Mr Blonde's will appear, use the RC-P120 to knock them all down. Head down the stairs and right down the ramp to the open area outside the inner hangar. Once outside you'll see the Skedar ship parked on the landing pad, finish off any guards nearby, then take out the Data Uplink and press B while standing near the ship. Once it begins hacking into the ship, strafe around to dodge enemy fire (if you have to) and wait for it to finish.
Once it's done the ship will take off and explode in the air, you'll then have completed objective 3. You'll hear Carrington calling for you to get to the last jumpship in the hangar, so head back up the ramp and go straight ahead, past the ramp leading back up to the main room of the Insitute, you should then find the door leading to the main hangar. Open the door and head in to complete the mission.
Special Agent
1. Reactivate automatic defenses
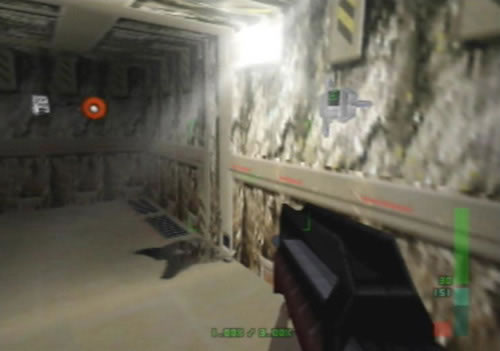
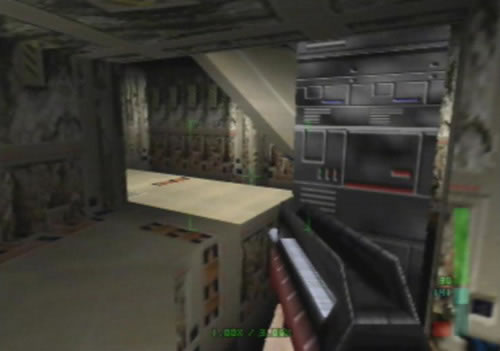
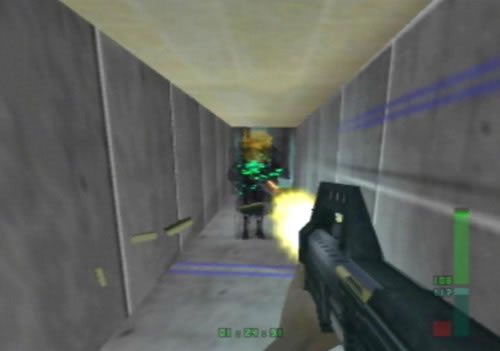
As soon as your start, jump around the corner and blast the Skedar in the back by the main door. Once he's down, Carrington will tell you to reactivate the automatic defenses, so head down the ramp behind you and go down to the exterior helipad where the Skedar ship will be later. Head through to the second helipad and through the opening to the storage areas. Go through the next opening into the maze-like storage center, here are three gun turrets you must activate. Once inside the first corridor, on your right is a CI guard in front of a gun turret, head left then turn and look at the corner of the first opening on the right.
The switch is just on the corner, activate it to switch on the gun turret. Keep heading down to the end of this corridor, then go through the door, head down the left corridor, through the next door and you should find the second turret with the switch nearby. Activate it then head down the corridor to the right of the door you came through. Some shielded dataDyne troopers with K7's might appear, take cover behind crates and pelt them with the AR34 to knock them down. Head through the door at the end of the corridor and go around to the left beyond the large mainframes. You should spot the final turret above a door, head through and hit the switch on the left wall to activate the final turret and to complete objective 1.
2. Release hostages
You're in a room with two CI guards in front of a door. Head up the small staircase and go through the door to find the main hangar with the jumpship. Go up the ramp on the right and head over to the other side of the room, open the door there and head back up the ramps to the main offices of the Institute. Go over and grab the Mauler where the Skedar dropped it, then head over to the VR Training room. Go in, then head around the right of the wall partition. Quickly blast the three guards in a line, you should be able to knock down at least two with one clip, grab the attention of the third and finish him off to release the hostage.
Head back out and over to the elevator on the left. Ride it up and switch to a Combat Boost. Head over to the Device Training room's door, then activate a boost and switch back to the AR34. Open the door and blast the guard straight ahead, then blast the second one on the right. With them both down, head out and over to Grimshaw's room nextdoor. Open the door, whack the guard standing by Grimshaw, then strafe over to the second guard on the left, wait for the technician to run away then blast the guard.
Head out, then back down to the ground floor. Go over to the Firing range's door, activate another boost and head in with the AR34 drawn. Go in and blast the two guards, once they're both down you'll have completed objective 2 regardless of whether Foster and the technician are conscious or not.
3. Retrieve experimental weapon
Go over to the terminal in the firing range and activate it to break the glass on the wall enclosing the RC-P120. Grab it to complete objective 3.
4. Deactivate bomb
Take out the RC-P120, then head back out to the main room. Go over to the ramp leading down to the hangar and blast any guards standing there. Wait for the CI technicians to run down to the hangar, then head down and wait halfway down the ramp. Several Mr Blonde's will rush up, pelt them with rounds from the RC-P120 and head down only once they're all gone. Head down to the helipad to the Skedar ship and hopefully no guards will be around, if there are just blast them.
Take out the Data Uplink and press B near the ship to hack into the bomb. Strafe around to dodge enemy fire if guards are around, then once the Uplink's finished and the ship takes off, take out the RC-P120 again and head back up to the ramp to the main hangar. Head through the door into the hangar to complete the mission.
Perfect Agent
1. Reactivate automatic defenses
During the evacuation of the CI, you'll have to find and destroy sensitive information inside Carrington's office as well as the other objectives. Once you begin, quickly zip out around the corner, blast the Skedar by the main entrance and grab his Mauler. Carrington will tell you to reactivate the automatic defenses, so head back down the ramp behind the point where you started. Head down to the bottom, then go down the long corridor ahead to reach the outdoor hangar. Go through the opening in the wall across the helipad, head past the CI soldier and go through the next opening ahead to reach an indoor cargo area.
Go ahead, through the opening into the maze-like corridors, then head left. Look down the first opening on the right to find the first turret switch. Activate it to set the turret on. Head back into the corridor with the turret and soldier, then go down to the opposite end of the hallway. Open the door, quickly head through and go left. One or two dataDyne guards might appear here and fire at you, try to take cover and mow them down. They'll have shields, but you should be able to take them down pretty quick.
Go down the short corridor and head through the next door. You'll spot the next turret ahead, go up to it and look on the wall on the right to find the switch. Activate it, then quickly turn around and go down the hallway to the left of the door you just came through. If the door at the end of the corridor opens, quickly hide behind the two crates and fire away at the dataDyne guard that appears. Head through to the room with the large mainframes, then go around the balcony to the next door with the turret above it. A guard might be charging ahead through the door, wait for the two CI soldiers to blast him in the next room before moving on. Go into the room and activate the switch on the left wall to set the turret on to complete objective 1. Try not to take too much damage in this first part of the mission, if your health is below half, restart.
2. Release hostages
4. Destroy sensitive information
You'll now have to save all the hostages up on the ground floor offices, but during that we'll destroy the sensitive information in Carrington's office. Go up the small staircase and head through the door behind the two CI soldiers to find the main hangar. Go up the ramp on the right and head back around to the door on the other side. Go through and head back up to the ground floor. Go over to the VR Training room's door (the second one on the left wall), head in and go around the right side of the wall partition. Three guards will be lined up against the wall, quickly mow them down with the AR34 before they shoot the real hostage. You should be able to knock down two of them with one clip, while you're reloading, grab the attention of the final guard, then hide behind the wall partition.
Once you're ready, dash out and mow him down. The real hostage will leave, follow her out and go over to the elevator on the left. Head up and take out a Combat Boost. Once at the top, go over to the Device Training room's door and activate the boost. Quickly take the AR34 out again and open the door. Quickly pop the guard straight ahead, then swivel to the right and pop the second guard standing over near the terminal. Make sure both hostages escape. Leave the room quickly and go around to Grimshaw's room next door.
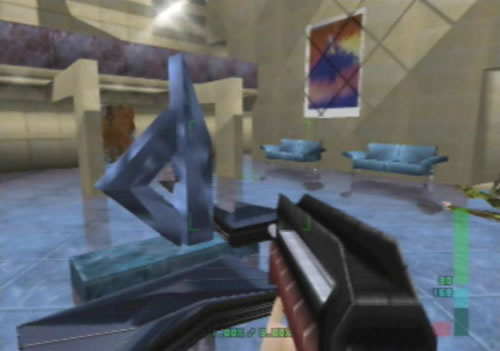
Open the door, blast the guard straight ahead, then strafe over to the left to the other guard, wait for the technician to run away, then pop the guard. If you successfully saved all four hostages here, Grimshaw will drop a Devastator. Pick it up, then head over to Carrington's office. Once inside, you'll spot a small gray safe on the rear wall. Normally, you use the Laser to break open the safe to find the Maian device, then destroy it, but instead, take out the Devastator and stand in the doorway. Fire a grenade into the corner and the blast will destroy the device to complete objective 4. Take out the AR34 and head back out of the room.
Go over to the elevator, you should notice that the four hostages are crammed into it. Jump in and ride it down. If any guards are waiting at the bottom, quickly hide and mow them down. Head over to the firing range on the left as fast as you can, open the door and quickly head in. You'll hear Foster and the technician fighting with the two guards inside, use a Combat Boost, then head into the firing range and mow down the two guards. Regardless of whether or not Foster and the technician escape or not, you'll now have completed objective 2.
3. Retrieve experimental weapon
Quickly go over to the terminal on the wall and activate it to break the glass enclosure holding the RC-P120 on the wall. Grab the weapon to complete objective 3.
5. Deactivate bomb
You'll eventually hear Carrington say "Get there first Jo and destroy the files," but you've already done that. Quickly take out the RC-P120 and head around to the door. Guards might be pouring through, mow them all down and take cover when they fire. Head back out to the main room and look for any guards over by the ramp leading down to the hangar. Mow them down, then head over to the ramp. By now the Skedar bomb will be planted and you'll have two minutes to destroy it before it blows. Go down the ramp and get ready to face several Mr Blonde's. Once they appear, quickly mow them down and try to avoid their Mauler fire.
Go down the corridor at the bottom and outside to find the Skedar ship. If you can see any other guards around, finish them off, then check the other helipad ahead to make sure that there are no guards around, blast them if there are. Head back to the ship and take out the Data Uplink. Press B to hack into the ship's controls, then wait for it to finish. If any guards appear, try to strafe around behind them while staying close to the ship. As soon as the ship takes off you'll have complete objective 5.
Once it flies off, quickly press A to take out the RC-P120, then dash back up to the corridor leading up to the ground floor. Mow down any guards ahead, then dash over to the hangar door ahead and enter the hangar to complete the mission. Yikes, this is a fast and furious mission, the spawning guards will make it tough for you, just remember to concentrate on your objectives and take cover if you get cornered by any guards, then carefully mow them down.
 Strafe across and shoot this trooper before he shoots his hostage. |
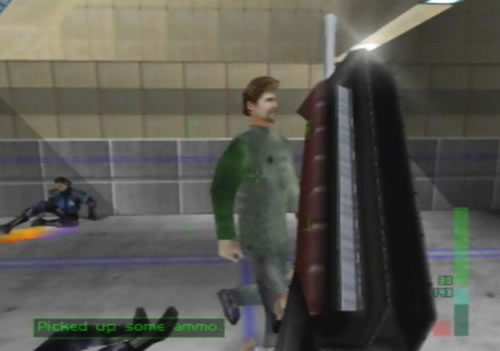 Grimshaw reluctantly thanks you and drops a Devastator. |
 Go down to the firing range and save Foster using a boost. |
 With the RC-P120 in hand, head up to Carrington's office. |
 You'll find Jonathan up here if he went with Elvis at Area 51. |
 Use the Laser to break open the safe to destroy sensitive records. |
 Or use the Devastator for a quick result. |
 Rush down to the helipad when Carrington warns you of the bomb. |
 Take down as many enemies along the way, as they congregate here. |
 The RC-P120 & Devastator come in real handy here. |
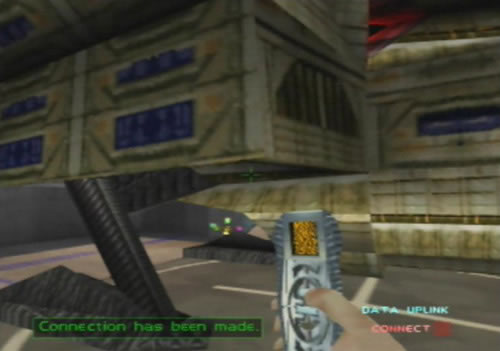 With all the enemies gone, use the Data Uplink on the ship. |
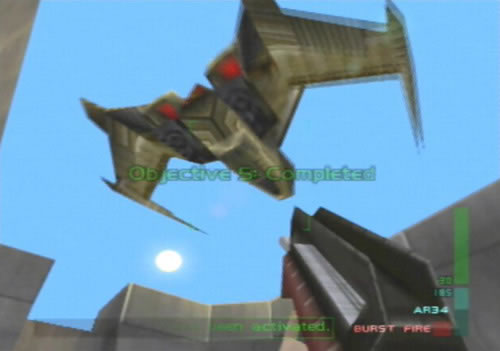 As the ship takes off it'll explode well out of range. |
 You're now clear to leave, go to the hangar to find a Jumpship there. |
 Joanna stays behind to provide cover fire against the Skedar. |
 But she won't get out of this one so easily. |
Next Mission: Attack Ship - Covert Assault
dataDyne Central - Defection
dataDyne Research - Investigation | dataDyne Central - Extraction
Carrington Villa - Hostage One | Chicago - Stealth | G5 Building - Reconnaissance
Area 51 - Infiltration | Area 51 - Rescue | Area 51 - Escape | Air Base - Espionage
Air Force One - Antiterrorism | Crash Site - Confrontation | Pelagic II - Exploration
Deep Sea - Nullify Threat | Carrington Institute - Defense | Attack Ship - Covert Assault
Skedar Ruins - Battle Shrine | Mr Blonde's Revenge | Maian SOS | WAR! | The Duel