


Carrington Villa - Hostage One
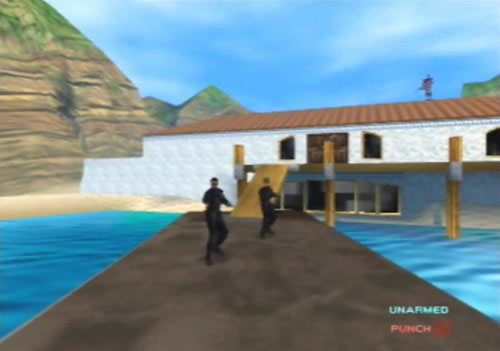
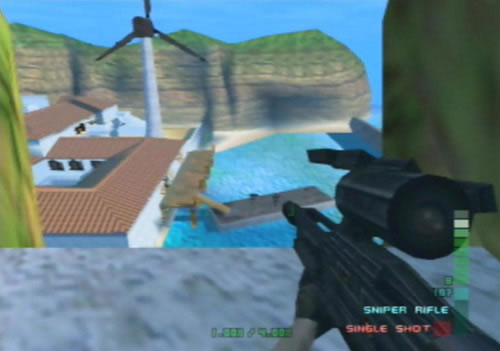 On Agent & Special Agent you'll need to snipe two guards below. |
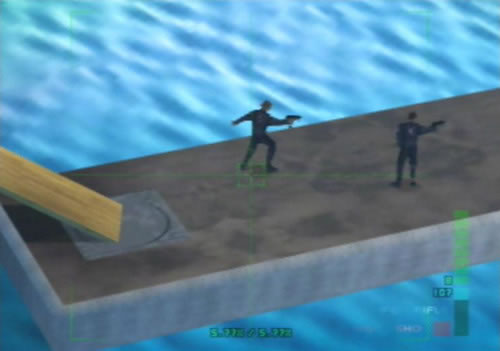 Shoot them both to save the negotiator. |
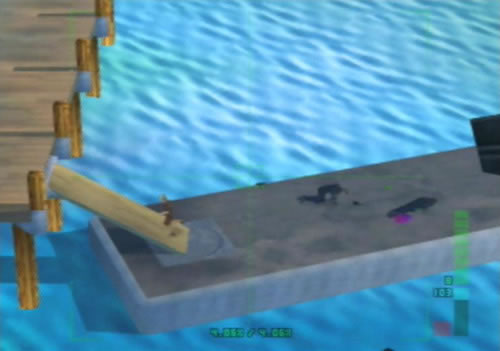 She'll run off to safety from down there. |
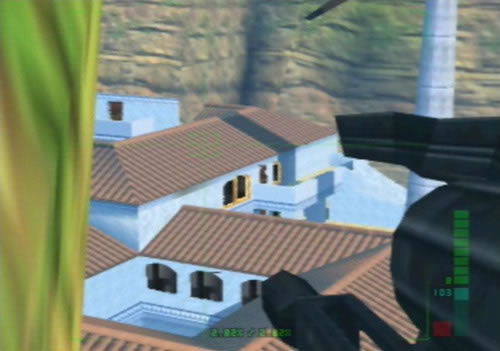 The roof areas will be crawling with snipers soon. |
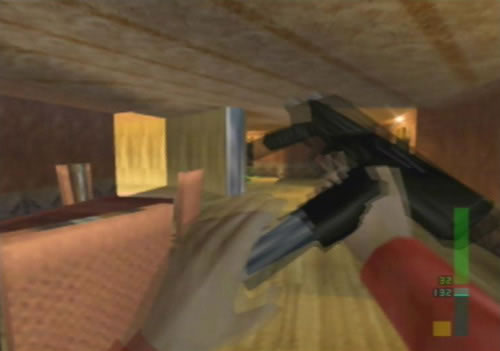
 Steal this guy's CMP150 and try to disarm the guards down the cavern. |
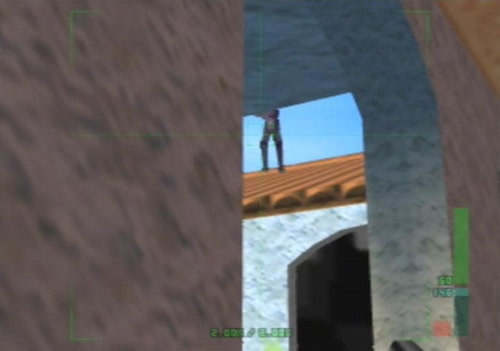
 Watch out below for these sneaky sharp-shooters. |
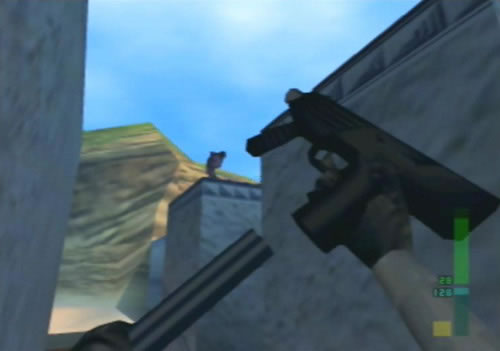 Catch this sniper off guard and quickly enough to grab a second CMP150. |
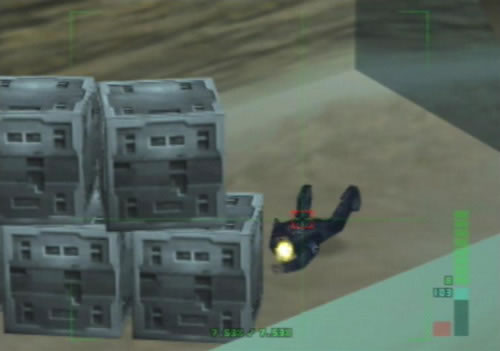
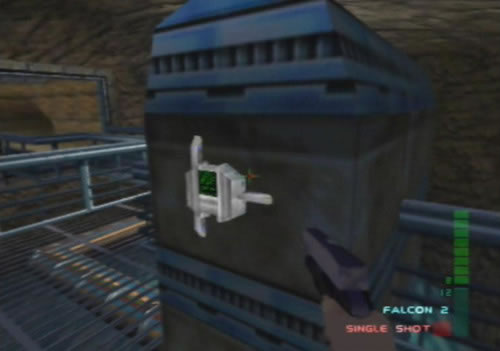
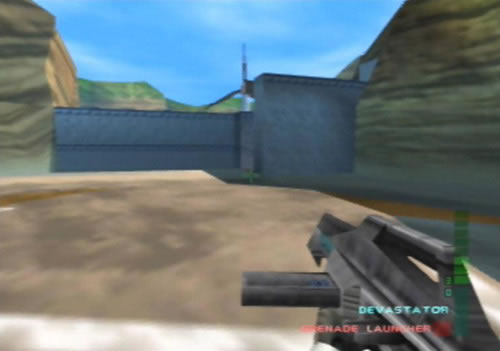 One of the crates out on the helipad houses a Devastator. |
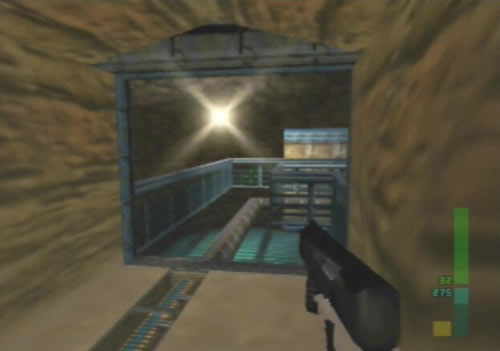
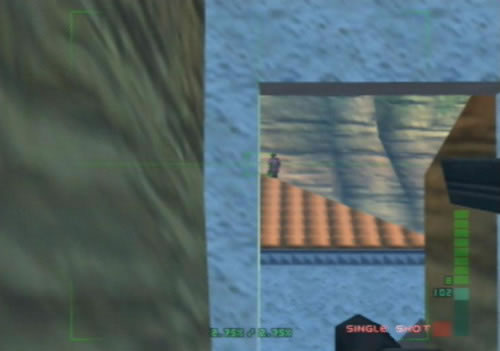 Sneak around the cave entrances and pick off snipers from here. |
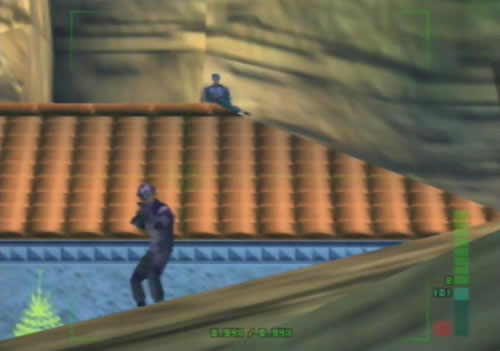 You should be able to see a fair number of them from here. |
 On Perfect Agent mode Joanna will be the negotiator. |
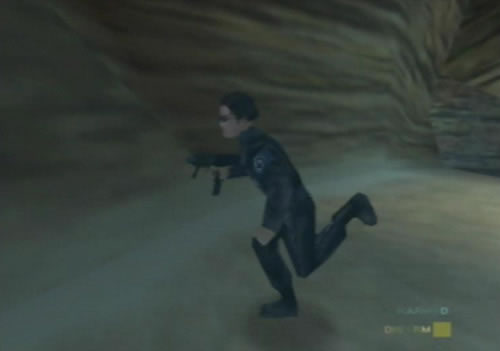
 You've only got seconds - disarm both guards quickly. |
 Use the wall for cover against this tricky sniper. |
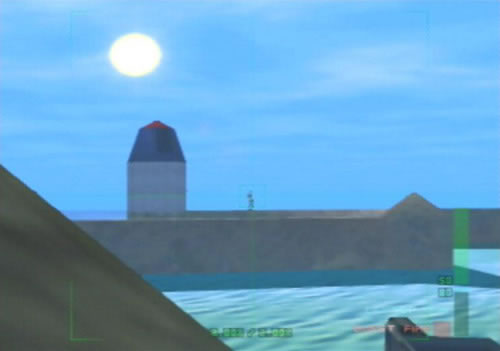
 The windmill serves as a good spot to snipe this one. |
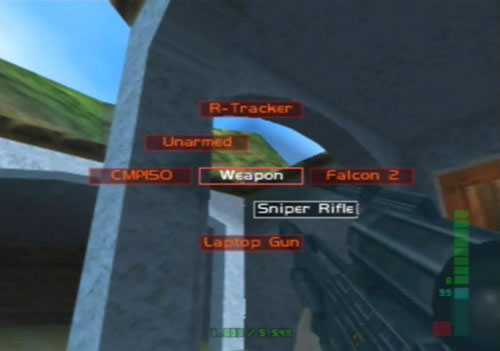
 Use the Laptop Gun or Sniper Rifle to take care of this sniper. |
Agent
1. Save the negotiator
As soon as the mission starts you'll take out the Sniper Rifle. Quickly walk up to the edge of the cliff in front of you and look down at the pier below. You'll easily spot the two guards and the negotiator, zoom in on the guards and quickly blast them before they shoot the negotiator, if they do, the mission will fail. Once the negotiator runs off you'll have completed objective 1.
2. Activate wind generator
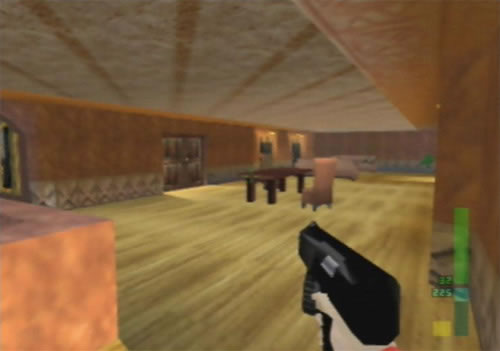
Turn around and head off behind the observatory. Head down the winding rock tunnels, blast any guards you see and grab a CMP150. Once you reach the bottom, head to the left and get ready to face snipers on the roof. You don't have to shoot them all, but take any out that bother you. Head over to the villa and head up the white stairs. Once you reach the balcony, open the door and step inside. Four guards in the front room will attack, blast each one and head down the staircase to your left.
Once at the bottom head down the hallway. On the left is a door leading to the master bedroom, inside is a small shower housing a shield, grab it if you need it. Head back out and continue left. More guards will appear in the dining room, blast them before proceeding. Once they're gone, head down one of the corridors on the right. You'll now be in the kitchen/lounge area. Knock down the two guards standing next to the door leading outside, then head down the stairs hidden behind the kitchen. Once at the bottom, head through the large room and blast any guards there. You should notice a brown door on the left wall, head through and go down the stairs you find.
Blast the guard at the bottom and head around behind the stairs. Blast the guard and open the door you find. You'll now be in the lower basement of the villa. Go straight forward then right to find a large room with two generators. Blast the three guards here and activate both switches then leave. Head back to the door leading up to the villa, then go down the long corridor on the right. Go right to the end and head left. Blast the guards surrounding the large generator, then activate the switch on it's side to activate the windmill and complete objective 2.
3. Rescue Carrington
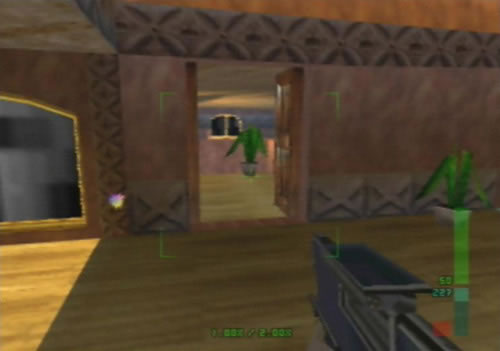
Now for the final part. Leave the generator and go straight ahead down the tunnel then left through the brown door. Head down the stairs and go right. A Shock Trooper will be running away from you, quickly knock him down and head around the corner. Two Shock Troopers will be in front of a brown door. Blast them both then head back to the stairs. Go forward through the door in front of you then quickly blast the guard behind the wine rack. Go around the door and quickly blast the next guard behind the other wine rack. Once they're gone, head down the tunnel in the corner of the room.
Take out the Sniper Rifle and zoom in down the long corridor on the right. You should see a guard behind a wine rack far-off, quickly pick him off before he fires. Take out the CMP150 again, head down the corridor and blast the two guards hiding there. Go down to the final room and blast the final guard behind the second wine rack. Once you beat the last Shock Trooper here, he'll drop a key card. Grab it and open the double-door in the corner of the room to find Carrington and finish the mission.
Special Agent
1. Save the negotiator
As soon as the mission begins, rush over to the cliff edge and quickly blast the two guards below on the pier before they shoot the negotiator to complete objective 1.
2. Eliminate rooftop snipers
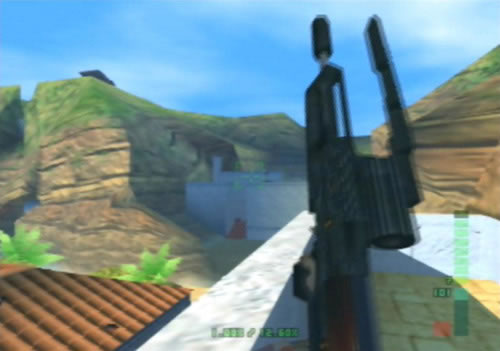
Head behind the observatory and down into the rocky tunnels. Blast any guards that appear and grab their CMP150's. Once you reach the bottom of the tunnels leading out to the villa, go left and quickly blast the sniper just up on the wall around the corner. Once he's gone, take out the Sniper Rifle and edge down to the stairs, facing the villa. Slowly edge around the wall and you'll notice several snipers up on the roof. Zoom in and blast each visible sniper, once they're all gone, head over to the stairs leading up to the villa entrance, but stand back and look up on the roof. You should see a lone sniper there, blast him before he spots you.
Head up to the entrance, then once in front of the door, spin around and you'll see two more snipers, one close up and the other way off standing on the wall at the entrance of the bay. Blast both of them to complete objective 2. If there's any more snipers you've missed, just look around for them, they're all on top of the roof.
3. Activate wind generator
Head into the villa and blast any guards that appear. Head down to the lower basement level below the kitchen, but make sure you blast any guards that see you. Go down the stairs behind the kitchen, then head through the brown door on the left wall. Head down the stairs and go into the lower wine cellars. Blast any guards around, then head into the small room with the two engine generators. Activate both then head over to the wind generator. Activate the switch to complete objective 3.
4. Rescue Carrington
Go down the staircase across from the wind generator and chase the Shock Trooper on your right. Blast him and the two others around the corner. Head back to the stairs, then go through the door on the left. Blast the two guards hiding behind the wine racks, then head around the corner and blast the guards down the corridor. Once at the end of the hallway, blast the two remaining guards hiding behind the wine racks. Grab the key card that the last guard drops, then open the door in the corner of the room to rescue Carrington and complete the mission.
Perfect Agent
1. Eliminate rooftop snipers
This time you won't be up on the cliff where you have to rescue the negotiator from the guards, this time you're the negotiator. You'll start off down on the pier with the two guards in front of you. As soon as the mission begins, rush up to them and quickly disarm both before they can fire. Knock one or both of them out to complete objective 5 already. Quickly head up the ramp to the wall of the villa, as the sniper just above will start to fire at you. This time you'll have a Laptop Gun, so take it out and carefully bring the sniper into view and blast him, one shot should take him down. Once he's gone, turn around and blast the guard on the far-off wall.
Head around the corner but aim up at the roof, another sniper will be waiting. Head over to the large white staircase and quickly blast the guard hiding behind it. Open the brown door leading into the villa, then knock out the guard standing with his back to you. Carefully edge around the left side of the curved wall and quickly sneak up behind the guard standing near it and knock him out. Take out the Laptop Gun or the CMP150, then head up the stairs to the kitchen. Quickly blast the two guards by the door, then get the attention of all the guards down the corridor. Wait for them to appear and blast each one. Once they're gone, head down to the dining room, then go up the stairs on the left to the main entrance room. Blast the four guards quickly, then head over to the front door.
Open it but be very careful, as a sniper will be just in front of you. Quickly blast him, then edge around the left part of the door and quickly blast the visible snipers. Quickly blast the guard standing over on the wall near the rocky tunnels to your right. Once he's gone, head down the staircase, then back away from the villa and fire at the last sniper up on the roof to complete objective 1. Once again, if you miss any just look around for them but be very careful, their accuracy is pretty good.
2. Activate wind generator
Head back into the villa and go back to the kitchen. Head down the stairs and go through the brown door on the left wall. Blast the guard at the bottom of the stairs and head around to the wine cellars. Blast any guards here, then carefully blast all three guards hiding among the two power generators. Once they're gone, head over and activate both switches. Head over to the wind generator, but make sure you blast the four guards here. Get their attention and back down the corridor to lure them out, then just blast each one that appears. Activate the switch on the wind generator to complete objective 2.
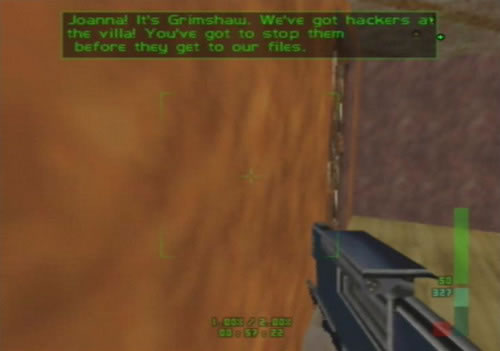
3. Locate and eliminate dataDyne hackers
A few seconds after you complete objective 2, Grimshaw will contact you and say that hackers are trying to break into CI's files. Quickly head back up to the kitchen, then head down the corridor to the dining room. Head into the small room on the right and quickly blast the hacker sitting at the terminal. Once he's gone, head up to the main entrance room, then as you go up the stairs, go into the opening on the left and you'll see two more hackers off in the corner of the large room. Blast both of them to complete objective 3. You'll have a time limit to get rid of them, so you'll have to be quick to make it in time.
4. Capture dataDyne guard
You can complete this objective at any time, just knock out any guard to capture them and make sure they don't get killed - after the mission CI interrogators will question the captured guards about dataDyne's raid on the villa.
5. Rescue Carrington
Head down to the stairs across from the wind generator, then go down and blast the Shock Trooper on the right. Go around the corner and quickly blast the next two standing in front of the door. Head back to the stairs and open the door across from you. Use the CMP150's lock on function to quickly blast the guard hiding behind the wine rack ahead, then carefully edge around the door on the right and blast the second guard behind the wine rack. Head over to the opening in the corner and take out the Laptop Gun. Zoom in on the wine rack at the end of the corridor and try to pick off the guard hiding behind it.
Head down the corridor and quickly blast the guard on the left then the one on the right before they can fire. Once they're gone, only one guard will be standing between you and victory. He'll be hiding behind the wine rack in the corner of the room, quickly blast him before he has a chance to fire. He'll then drop the key card, grab it and open the door to rescue Carrington and finish the mission. A tough mission, you'll need practice at aiming and dodging before you can beat it successfully.
 Slip inside quietly and knock out this guard for objective 4 on PA. |
 Two guards hide out on the other side of that wall section. |
 Sneak up the stairs but watch out for waiting guards. |
 Carrington's kitchen level is crawling with dataDyne troops. |
 Always keep a lookout for snipers on the roof. |
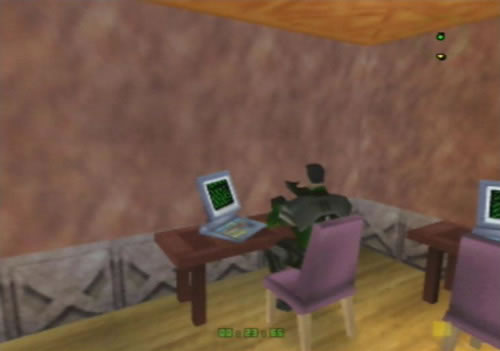
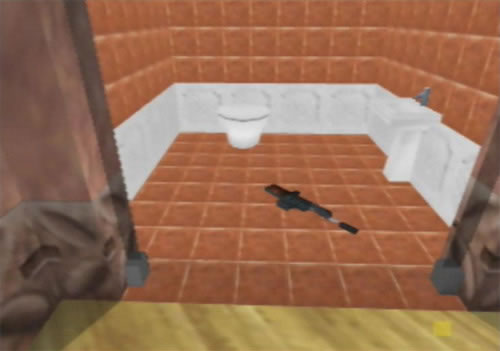 You'll find a shield or Sniper Rifle hidden in Carrington's ensuite. |
 The top level houses more guards scattered around. |
 Open the door and carefuly peek around for snipers. |
 Don't forget the one way over on that wall. |
 Run down the stairs and back away from the building to see this one. |
 The last one hides out just outside the main entrance of the villa. |
 This door leads down to the basement level. |
 Come through here to restore power to the windmill. |
 Activate both switches to restore power to the generator. |
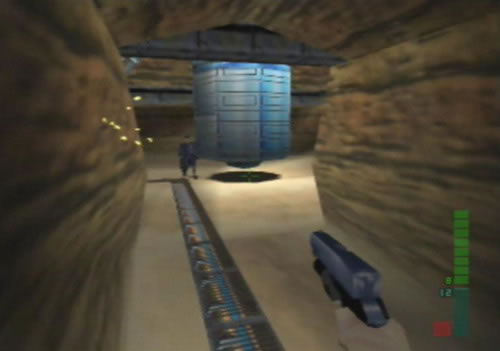 Further down the basement complex is the wind generator. |
 Clear the guards out and hit the switch here. |
 Quickly rush back upstairs, there's hackers about. |
 Knock them both down and rush upstairs to the final one. |
 Punch this guy in the back, he won't know what hit him. |
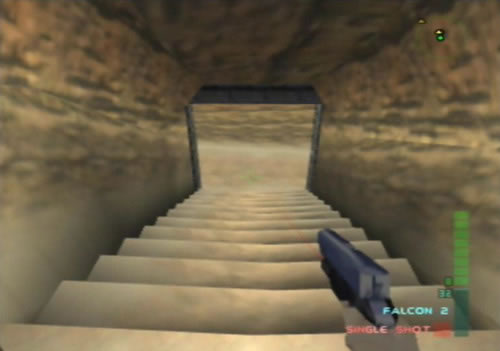 Go back downstairs and descend this passage. |
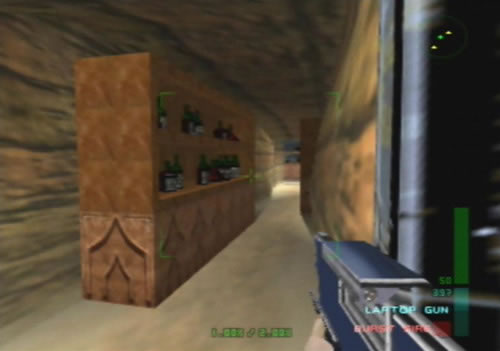
 Here you'll find Shocktroopers hiding among the wine racks. |
 Take this passage carefully and watch out for guards. |
 Use the Sniper Rifle or Laptop Gun to clear the way. |
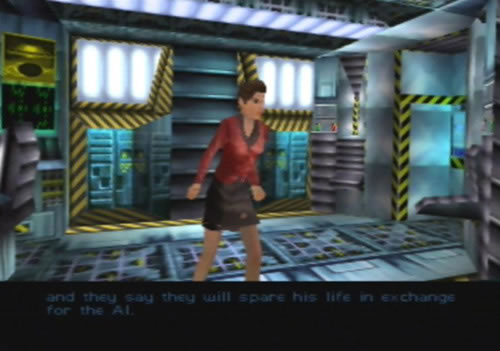
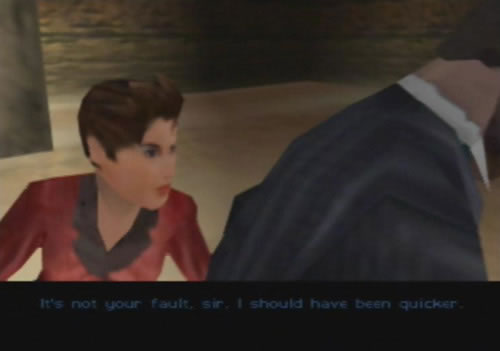 Carrington fills Joanna in on recent events at the villa. |
Next Mission: Chicago - Stealth
dataDyne Central - Defection
dataDyne Research - Investigation | dataDyne Central - Extraction
Carrington Villa - Hostage One | Chicago - Stealth | G5 Building - Reconnaissance
Area 51 - Infiltration | Area 51 - Rescue | Area 51 - Escape | Air Base - Espionage
Air Force One - Antiterrorism | Crash Site - Confrontation | Pelagic II - Exploration
Deep Sea - Nullify Threat | Carrington Institute - Defense | Attack Ship - Covert Assault
Skedar Ruins - Battle Shrine | Mr Blonde's Revenge | Maian SOS | WAR! | The Duel